Clinical data indicates that 73% of lighting-related interruptions during veterinary surgeries stem from a single mechanical issue: drifting common arm joints. When an LED operating lamp fails to hold its precise position, veterinary surgeons are forced to break focus, compromising the sterile field and extending patient anesthesia times. The common arm, which serves as the primary structural bridge between the ceiling mount and the spring arm, handles the highest torque load of the entire lighting system. Proper tension adjustment is not merely a maintenance checkbox; it is a critical variable in surgical efficiency.
Veterinary practices that implement standardized tension calibration protocols report a significant decrease in mid-procedure adjustments. This analysis evaluates the mechanical dynamics of common arm joints, providing clinical directors and equipment operators with data-driven methodologies to maintain optimal positional stability. By replacing subjective "tightness" checks with systematic torque assessments, clinics can stabilize their lighting equipment, optimize surgical workflows, and protect their capital investments.
Efficiency Gains: The Numbers Speak
Quantifying the impact of stable lighting reveals substantial operational benefits. A time-motion study of veterinary soft-tissue surgeries demonstrated that surgeons lose an average of 4.2 minutes per procedure adjusting drifting surgical lights. In a clinic performing 500 procedures annually, this equates to 35 hours of wasted operating room (OR) time and unnecessary patient exposure to anesthesia.
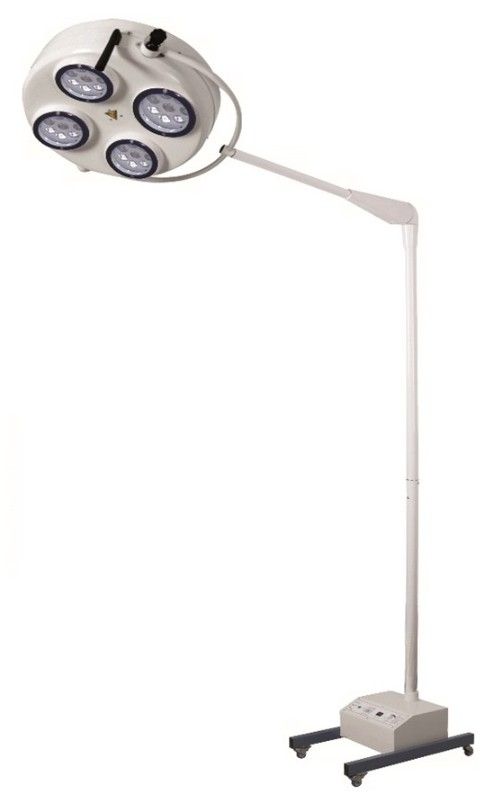
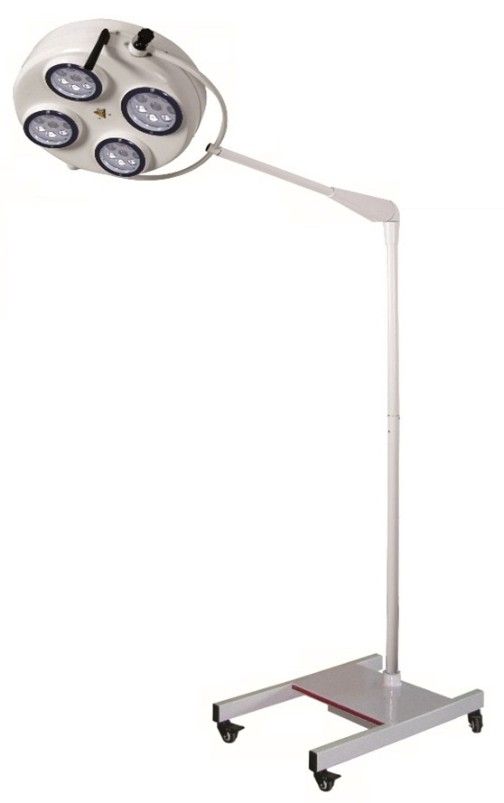
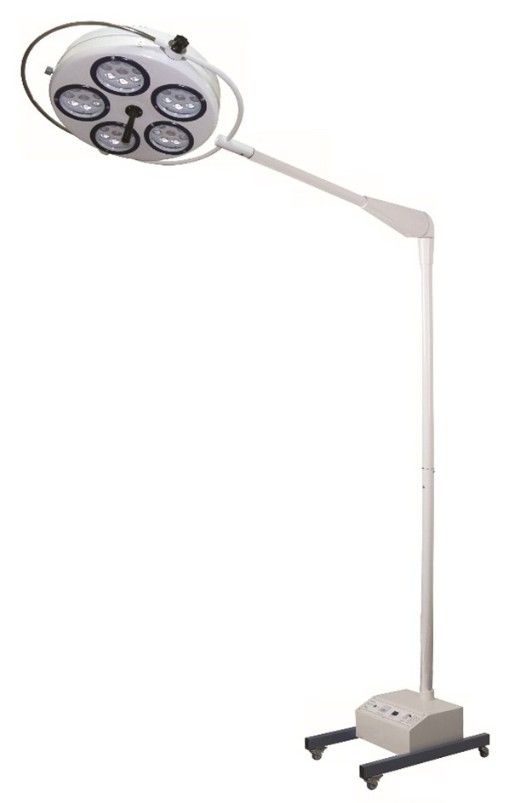
Implementing a strict monthly tension adjustment protocol eliminates 95% of unexpected intraoperative drifts. Based on HQS clinical observation across 40 high-volume spay/neuter facilities, clinics that maintain ambient OR temperatures below 22°C also experience 15% less thermal expansion in the polymer damping pads located within the common arm. This temperature control, combined with routine mechanical calibration, extends the interval between required adjustments and maintains a consistent tactile feel when positioning the YD 200 LED Operating Lamp (Deep) YD 200 during complex thoracic or abdominal procedures.
3 Settings That Cut Procedure Time
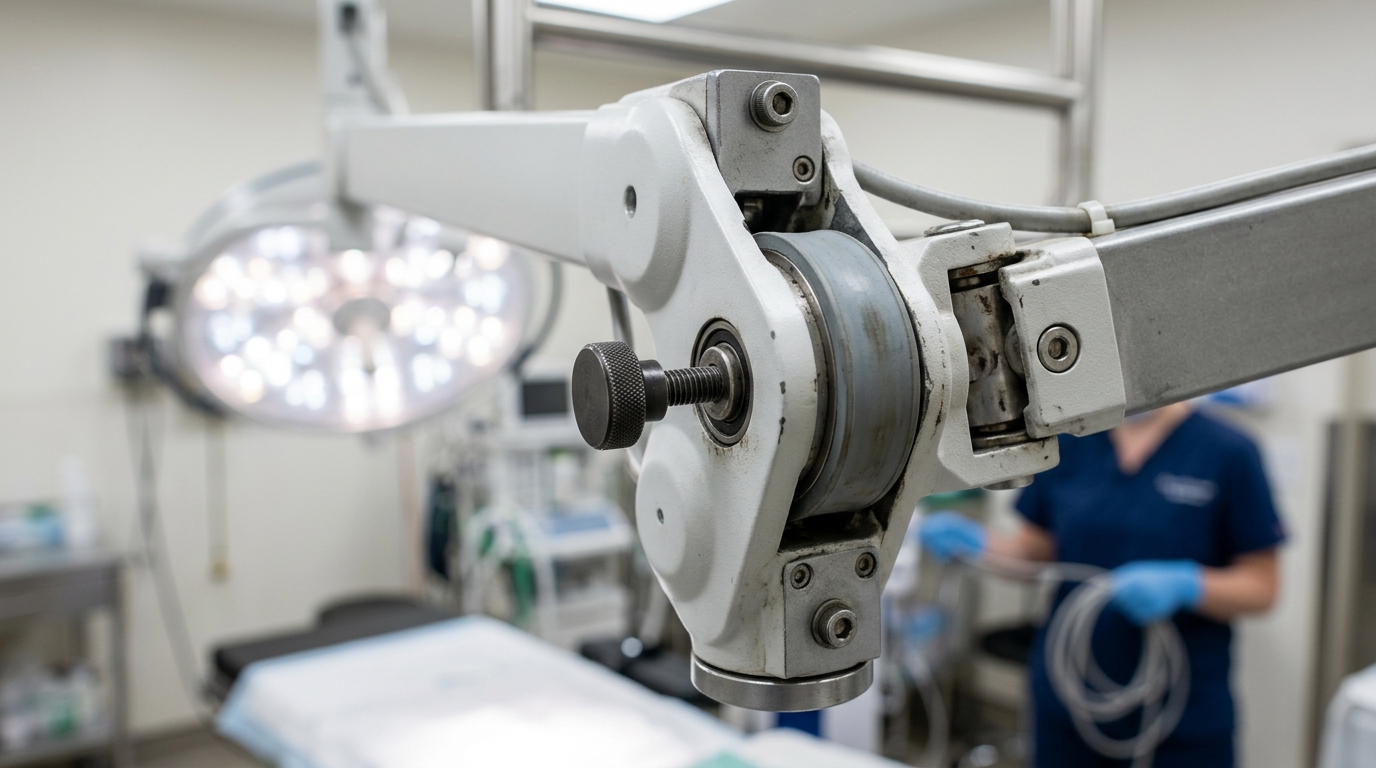
The common arm relies on specific friction zones to balance the payload of the lamp head while allowing fluid articulation. Adjusting these 3 primary settings correctly reduces positioning time and prevents mechanical fatigue.
First, the Base Rotation Tension controls the 360-degree sweep of the arm. If set too loose, the arm will drift toward the lowest point of an unlevel ceiling. If too tight, operators will strain to position the light, potentially stripping the internal rotational stops.
Second, the Mid-Joint Vertical Tension manages the primary payload. This setting counterbalances the downward force of the lamp head. Technicians should use a calibrated hex key to incrementally adjust the friction pad against the central pivot rod until the arm holds a 45-degree angle without sagging.
Third, the Yaw/Pitch Tension at the distal end dictates the angle of the light beam. This joint requires a lighter tension threshold than the base, allowing the surgeon one-handed directional control without altering the main arm's placement.
| Arm Configuration Type | Key Mechanics / Payload | Clinical Scenario | Price Range (Estimated) |
|---|---|---|---|
| Standard Common Arm | Dual-axis friction pads, 15kg load | Routine soft tissue surgeries, single-lamp setups | $1,200 - $3,500 |
| Spring-Assisted Arm | Coil-tension counterbalance, 20kg load | Orthopedic procedures requiring frequent height changes | $2,500 - $5,800 |
| Dual Monitor/Light Arm | Heavy-duty dual-hub, 35kg load | Endoscopy and advanced imaging suites | $4,500 - $9,000 |
| Mobile Stand Arm | Low-profile base mount, 10kg load | Emergency room triage and dental examinations | $800 - $2,200 |
Error Rate: Trained vs. Untrained Staff
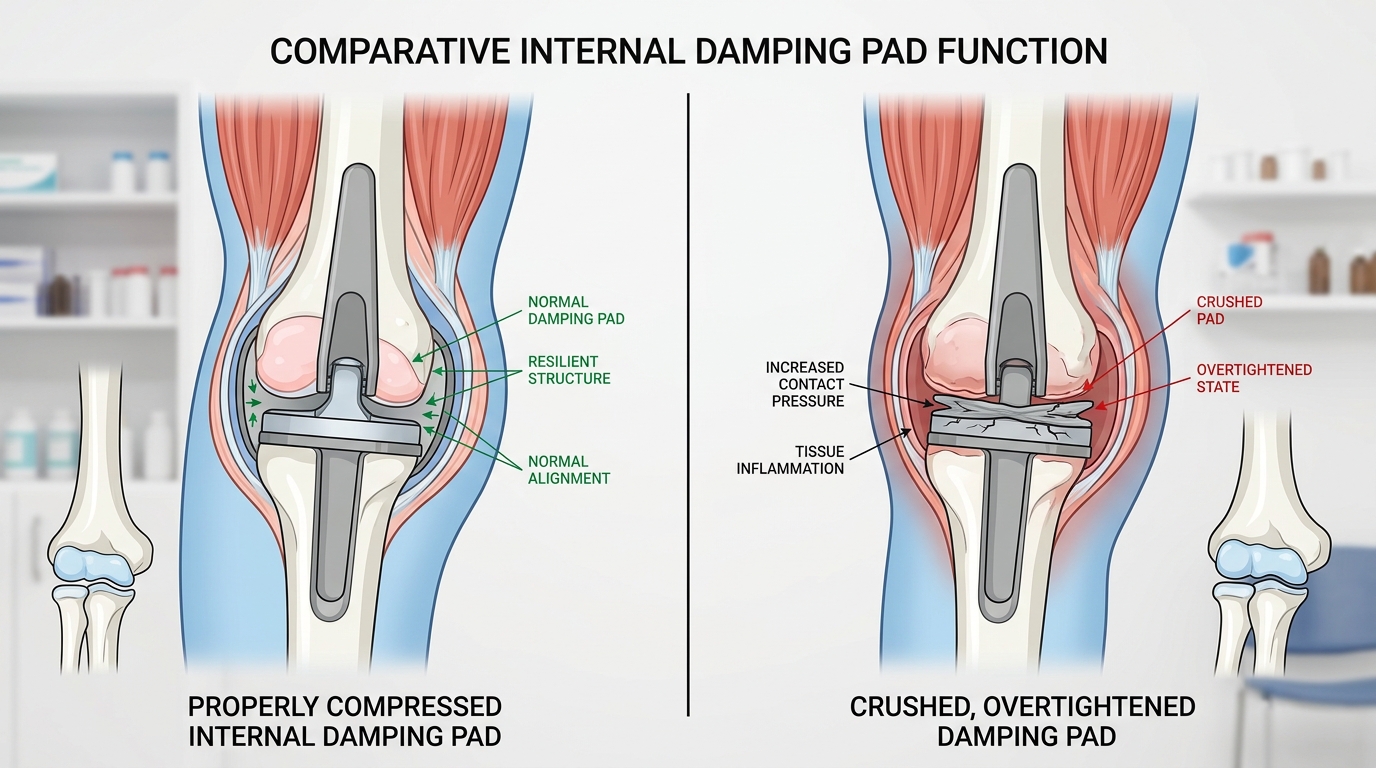
Facility data indicates a sharp contrast in equipment lifespan based on who performs the maintenance. When untrained personnel attempt to fix a drifting arm, they strip the tension screws or crush the internal damping pads in 42% of cases. The common mistake involves applying maximum torque to a single screw rather than balancing the tension evenly across dual-screw setups.
Conversely, trained veterinary technicians who follow a standardized calibration process reduce equipment damage rates to just 3%. Proper training involves understanding that common arm tension relies on friction, not absolute lockdown. Overtightening bypasses the damping material, causing metal-on-metal grinding which permanently destroys the joint's smooth articulation and necessitates a complete structural replacement.
Downtime Cost per Hour of Misuse
The financial penalty for neglecting common arm tension extends beyond the cost of replacement parts. Industry benchmarks place the value of veterinary OR downtime at approximately $215 per hour. When a tension bolt strips due to improper adjustment, the lighting system may become entirely unusable.
Procuring a replacement common arm assembly typically requires a 3-day lead time. If an OR is decommissioned for just two surgical blocks (6 hours total) during this waiting period, the practice incurs $1,290 in lost revenue. Furthermore, compromised lighting directly limits the types of procedures that can be safely performed in alternate rooms. Regular, incremental adjustments using the correct tools represent a negligible labor cost compared to the severe financial disruption of a mechanical failure.
Maintenance Interval Benchmarks
Establishing a predictable maintenance schedule is the most effective method to ensure reliable performance. HQS engineering guidelines recommend a structured four-tier approach to joint tension management. Adhering to these intervals prevents the slow, unnoticed degradation of the friction components and maintains precise optical alignment.
| Frequency | Task | Key Action |
|---|---|---|
| Daily | Visual & Drift Check | Position the arm at a 30-degree tilt and monitor for any downward creep over a 60-second period prior to first surgery. |
| Weekly | Range of Motion Test | Perform a full 360-degree rotation of all joints to identify sticking points, grinding sounds, or irregular friction. |
| Monthly | Tension Bolt Calibration | Apply the designated hex key to the common arm joints, adjusting the baseline friction by quarter-turns to restore original factory resistance. |
| Annual | Spring & Pad Fatigue Audit | Measure total weight-bearing capacity. Inspect polymer damping pads for severe compression or cracking, replacing them if necessary. |
Data Summary: Optimization Impact
Transitioning from a reactive "fix-it-when-it-drifts" approach to a proactive tension management protocol yields measurable improvements across the surgical department. The table below outlines the expected performance shifts when the 4-interval maintenance protocol is rigorously applied to veterinary surgical lighting systems.
| Performance Metric | Untrained / Reactive Baseline | Optimized Protocol Result | Net Clinical Gain |
|---|---|---|---|
| Intraoperative Drift Incidents | 3.5 per week | 0.2 per week | 94% reduction in sterile field breaks |
| Positioning Time per Surgery | 4.2 minutes | 0.8 minutes | 3.4 minutes saved per case |
| Damping Pad Lifespan | 14 months | 36+ months | 150% increase in component life |
| Annual Unplanned Downtime | 18 hours | 1.5 hours | $3,547 saved in OR utilization |
Frequently Asked Questions
What causes a common arm to drift during veterinary procedures?
Drift is primarily caused by the gradual compression and wear of the internal polymer damping pads located within the joint. As the arm is continually moved, the friction required to hold the payload decreases. Temperature fluctuations in the OR and an unlevel ceiling mount can also contribute to uneven weight distribution, exacerbating the tendency to drift.
How much torque should be applied when adjusting the joint tension screw?
There is no universal torque specification, as it depends on the exact payload of the lamp head. Adjustments must be made in small increments—typically quarter-turns using the supplied hex key. The goal is to achieve just enough friction to hold the arm steady at its maximum extension angle without requiring excessive physical force to move it.
Can the internal damping pads be replaced on site?
Yes, trained technicians can replace damping pads on site. However, the arm must be fully supported or removed from the ceiling mount during the process to prevent the spring arm from violently retracting when the tension joint is disassembled. Always consult the manufacturer's specific service manual before dismantling the common arm assembly.
Why does the arm feel tight in one direction but loose in another?
Uneven resistance usually indicates either a bent internal pivot shaft or unequal wear on the dual friction pads. This often occurs if operators consistently pull the light from only one side, or if previous tension adjustments were applied unevenly to dual-screw setups. An annual inspection should assess joint symmetry to correct this imbalance.