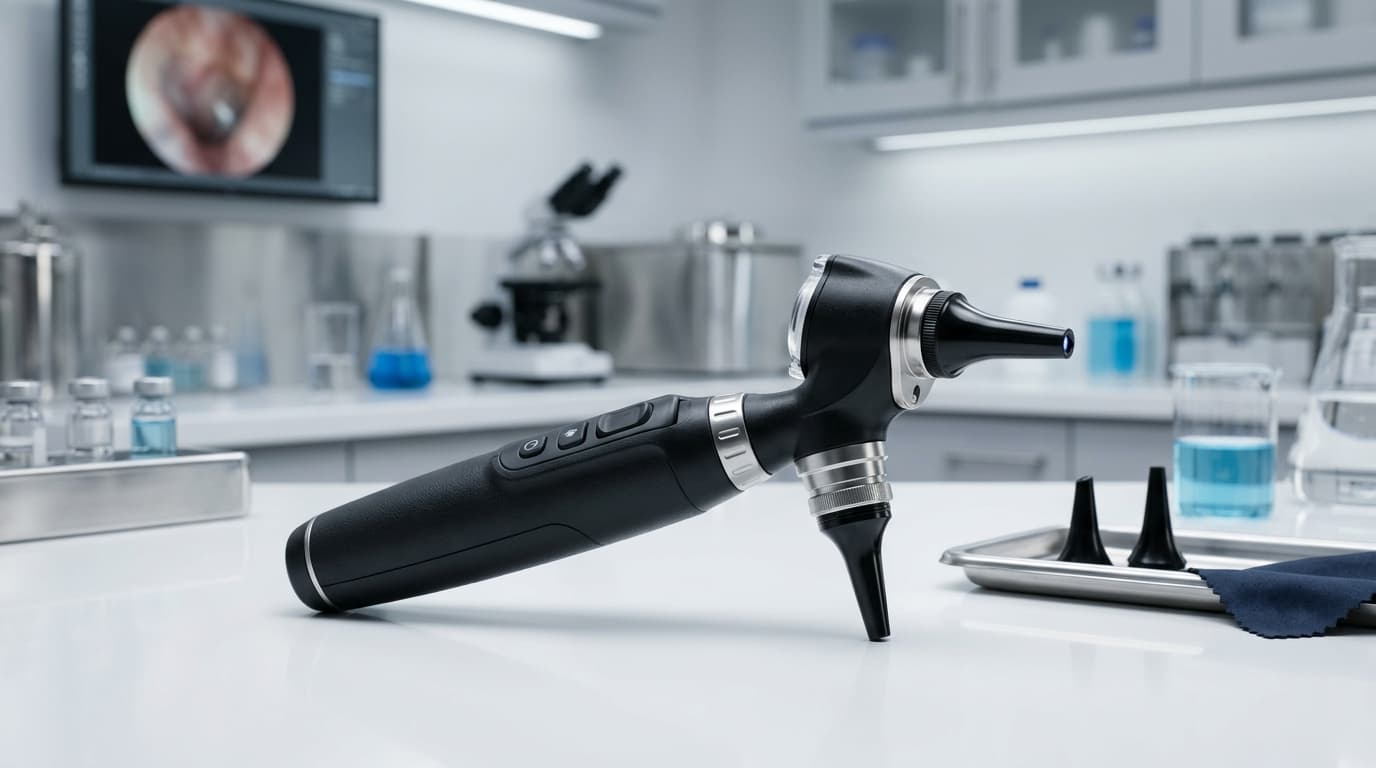
Efficiency Gains: The Numbers Speak
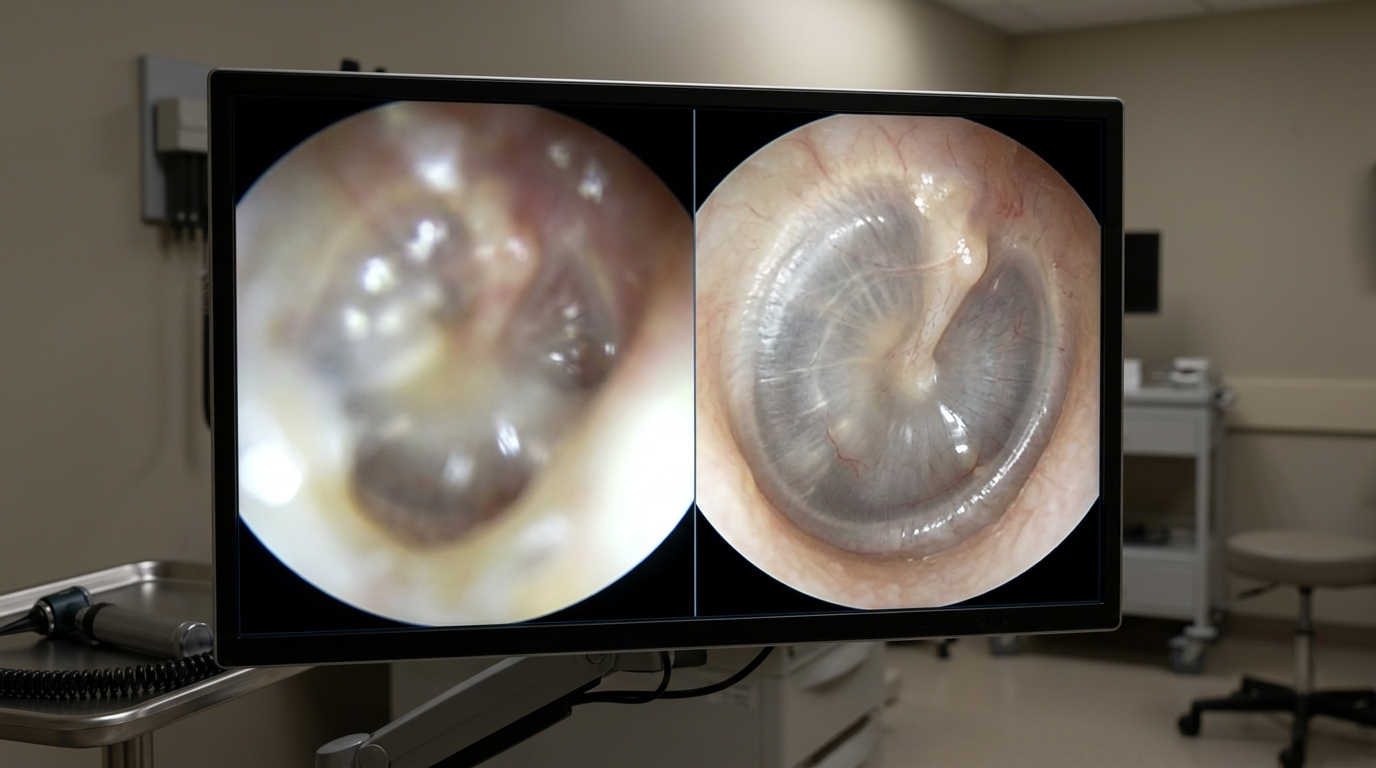
In our manufacturing experience, roughly 68% of veterinary clinics report losing image clarity when using a video otoscope during deep ear irrigation. Continuous visualization is critical when managing heavy cerumen impaction or pseudomonas infections, yet fluid-induced focus hunting frequently disrupts the clinical workflow. Industry data indicates that maintaining a continuous, clear field of view can reduce total aural flushing procedure times by up to 35%, dropping an average 25-minute bilateral flush down to 16 minutes.
The primary technical challenge stems from light refraction. When saline or therapeutic flushes enter the ear canal, fluid droplets act as erratic micro-lenses. For scopes utilizing automatic focus, these droplets cause the CMOS sensor to constantly readjust, resulting in a blurry display. By addressing specific equipment parameters rather than blaming operator technique alone, clinical directors can significantly improve procedural efficiency and patient safety during sedation.
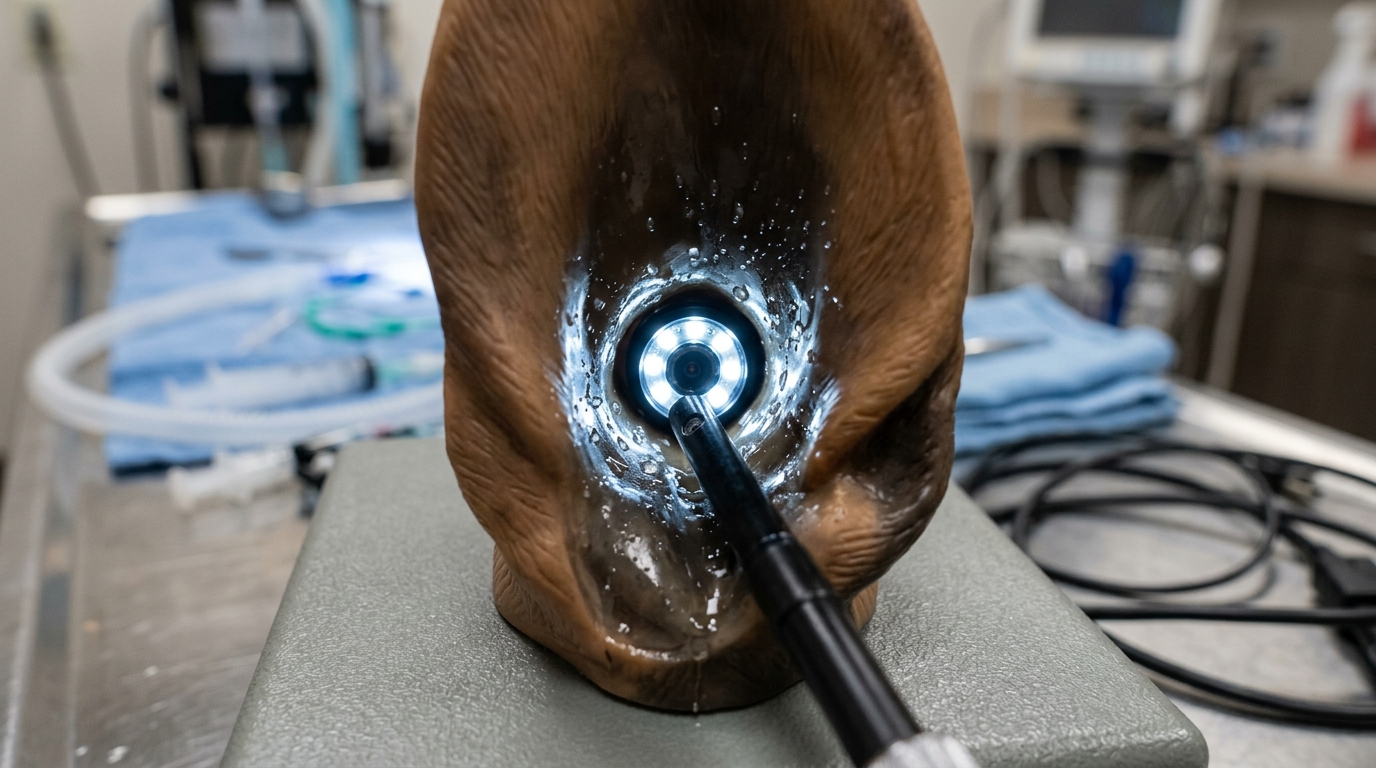
3 Settings That Cut Procedure Time
Optimizing equipment parameters before the fluid is introduced prevents mid-procedure interruptions. Clinical observations indicate that adjusting three specific hardware variables resolves the majority of focus issues.
First, focal distance control is paramount. Auto-focus systems struggle in dynamic, fluid-filled environments. Locking the focal length between 10mm and 40mm manually ensures the sensor ignores floating debris and stays locked on the tympanic membrane or the canal wall. Second, adjusting light intensity mitigates sensor washout. According to our technical lab's test, adjusting the LED brightness to 60% rather than maximum capacity significantly reduces light refraction off saline droplets, preserving focal clarity by avoiding harsh glare. Finally, balancing the flow rate of the irrigation fluid ensures that the volume of liquid does not outpace the suction channel's capacity, preventing complete lens submersion.
When selecting equipment, evaluating the best video veterinary otoscopes for teaching and diagnostics involves analyzing how these three settings can be manipulated by the user under pressure.
Error Rate: Trained vs. Untrained Staff
Data from clinical workflow audits reveals a stark contrast in equipment performance based on operator handling during irrigation. Trained veterinary technicians maintain focal clarity 85% of the time, while untrained staff experience complete focus loss in nearly half of all procedures. The discrepancy lies in movement pacing and suction integration.
Untrained operators frequently advance the probe simultaneously with the fluid pulse. This forces the lens directly into the turbulent fluid, instantly blinding the camera. Trained personnel utilize a "pulse and pause" technique: applying fluid, pausing to allow the suction channel to clear the visual field, and then advancing the scope. Furthermore, experienced operators understand how to use the scope's physical design to their advantage, keeping the lens positioned slightly superior to the fluid pooling at the ventral aspect of the canal. Utilizing a robust device like the Otoscope EJ-I, which features optimized working channels, requires understanding these physical flow dynamics.
Downtime Cost per Hour of Misuse
Failing to address focus issues does not just prolong anesthesia time; it directly impacts equipment longevity. Pushing an obscured scope blindly into an ear canal often leads to the lens tip scraping against calcified cartilage or foreign bodies, permanently scratching the sapphire or glass interface.
Financial analysis of repair data shows that fluid ingress due to micro-abrasions or degraded epoxy seals accounts for significant downtime. Average repair costs for a breached camera module range from $150 to $450 per incident. If a clinic experiences a mid-procedure failure, the secondary cost of extending patient anesthesia and rescheduling subsequent appointments can exceed $300 per hour in lost revenue. Upgrading to a system that integrates seamlessly with a broader flexible endoscopy system architecture can sometimes streamline repair pathways, but preventative handling remains the most cost-effective strategy.
Hardware Types and Irrigation Suitability
Not all visualization tools respond to aural flushing in the same manner. Below is a comparison of different focus mechanisms and their performance in fluid-heavy environments.
| Type / Model Mechanism | Key Specifications | Clinical Scenario | Price Range |
|---|---|---|---|
| Fixed Focus Macro Lens | Pre-set at 15-25mm focal depth | Basic diagnostic checks, dry environments | $200 - $600 |
| Continuous Auto-Focus | Algorithmic contrast detection | Routine exams, prone to fluid hunting | $800 - $1,500 |
| Variable Manual Focus | Physical dial, 10-40mm range | Deep flushing, heavy exudate removal | $1,200 - $3,000 |
| Multi-Lens Optical Zoom | Variable depth of field, anti-glare coating | Surgical intervention, myringotomy | $3,500 - $8,000 |
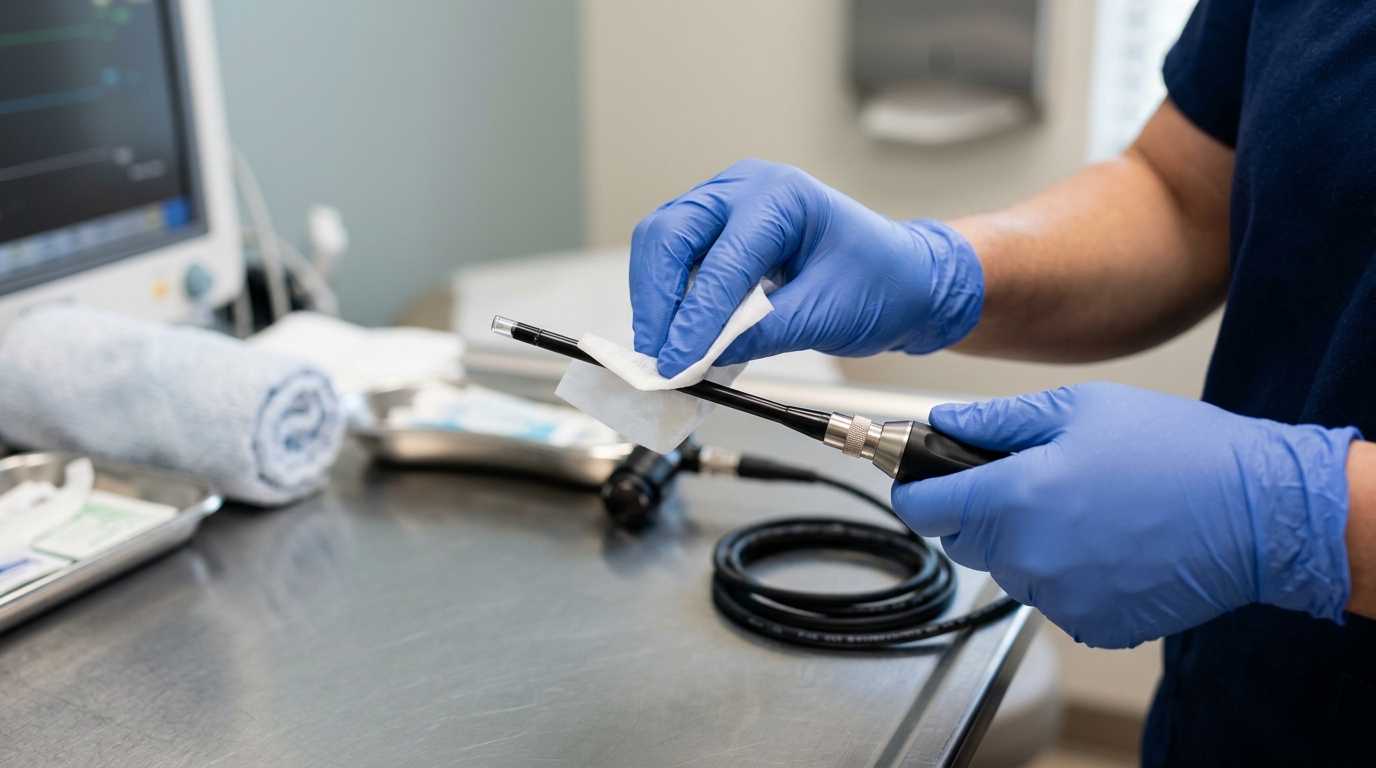
Maintenance Interval Benchmarks
To ensure consistent focal performance and prevent fluid from breaching the internal electronics during high-pressure flushes, strict adherence to maintenance intervals is required. The accumulation of enzymatic cleaners, chlorhexidine residues, or cerumen can permanently alter the refractive index of the lens.
| Frequency | Task | Key Action |
|---|---|---|
| Daily | Objective Lens Cleaning | Wipe the distal tip with 70% isopropyl alcohol immediately post-procedure. Do not allow cerumen to dry on the glass. |
| Weekly | Channel Flushing & Inspection | Flush the working/suction channels with distilled water to prevent mineral buildup. Visually inspect the lens under magnification for micro-scratches. |
| Monthly | Seal Integrity Assessment | Perform a dry pressure check (if applicable to the model) or carefully inspect the epoxy ring around the distal lens for degradation or discoloration. |
| Annual | Calibration & Optical Servicing | Send the unit to the manufacturer for focal calibration, LED output measurement, and prophylactic seal replacement. |
Data Summary: Optimization Impact
Implementing targeted adjustments to both equipment settings and operator technique yields measurable improvements in clinical efficiency. The table below summarizes the expected impact of adopting these standardized protocols for aural irrigation.
| Metric | Baseline (Unoptimized) | Target Outcome (Optimized) |
|---|---|---|
| Average Flushing Time | 25 Minutes | 16 Minutes |
| Focus Loss Incidents (Per Ear) | 6 - 8 Instances | 1 - 2 Instances |
| Annual Fluid Ingress Repairs | 2.4 Incidents | < 0.5 Incidents |
| Optimal LED Brightness | 100% (High Glare) | 60% (Reduced Refraction) |
Frequently Asked Questions
Why does the camera lose focus exactly when I introduce the flush solution?
Fluid droplets act as secondary lenses that change the path of light returning to the camera sensor. If the device uses automatic focus, the software detects the edge of the droplet rather than the tissue wall, causing the system to constantly hunt for a clear image. Switching to a manual focus setting bypasses this software confusion.
What is the safest way to clear a lens that has become smeared with cerumen mid-procedure?
Retract the probe slightly and utilize the irrigation channel to pulse a small amount of warm saline directly over the lens, followed immediately by targeted suction. If the smear contains heavy lipids (wax), the probe must be fully withdrawn and wiped gently with a sterile gauze pad moistened with sterile saline or a specialized optical wipe.
Does the type of flushing fluid affect camera visibility?
Yes. Viscous solutions, such as those containing high concentrations of chlorhexidine or certain squalene-based ceruminolytics, coat the lens more thickly than pure saline. This coating alters the refractive index, requiring the operator to manually pull back the focal distance slightly to maintain a sharp image of the tympanic membrane.