In high-volume clinical environments, facility managers consistently identify cross-contamination and equipment degradation as primary operational bottlenecks. Internal industry observations suggest that wards utilizing unoptimized material protocols replace housing hardware 40% faster than those enforcing strict thermal sterilization guidelines. A reliable veterinary pet cage is not simply a containment unit; it is a critical medical device that must withstand harsh chemical exposure and repeated thermal processing.
Selecting the correct materials—and processing them at the right thermal thresholds—directly impacts infection control rates. By integrating autoclave-safe components, clinical teams reduce manual scrubbing time and validate pathogen elimination through measurable steam sterilization. This guide compares autoclave-ready materials, evaluates failure rates among untrained staff, and establishes strict maintenance intervals to maximize the lifespan of clinical housing units.
Efficiency Gains: The Numbers Speak
Switching from standard surface disinfection to high-temperature thermal processing for removable cage hardware yields significant workflow improvements. Facilities implementing autoclave-validated hardware report a reduction in manual cleaning time by up to 15 minutes per unit per week. Over a 10-cage ward, this recovers over 10 hours of technician labor monthly.
Not all materials survive clinical sterilization. When selecting a stainless steel cage, understanding the alloy composition is essential. Type 304 and Type 316 alloys maintain structural integrity under high-pressure steam, whereas lower-grade metals like Type 201 suffer accelerated thermal fatigue. The table below compares the performance of common housing materials under sterilization stress.
| Material Type | Sterilization Threshold | Clinical Use Case | Est. Price Range (Per Unit) |
|---|---|---|---|
| Type 316 Stainless Steel | Up to 134°C (Pre-Vac) | ICU, Parvo wards, isolation units requiring daily thermal processing | $1,200 – $1,800 |
| Type 304 Stainless Steel | 121°C (Gravity) | Standard recovery, post-op, general feline and canine housing | $600 – $1,200 |
| Type 201 Stainless Steel | Not recommended (Rusts) | Dry boarding only; avoid steam sterilization | $400 – $650 |
| High-Density ABS/Fiberglass | Cold chemical only | Noise-sensitive wards, feline holding; melts in standard autoclaves | $500 – $950 |
3 Settings That Cut Procedure Time
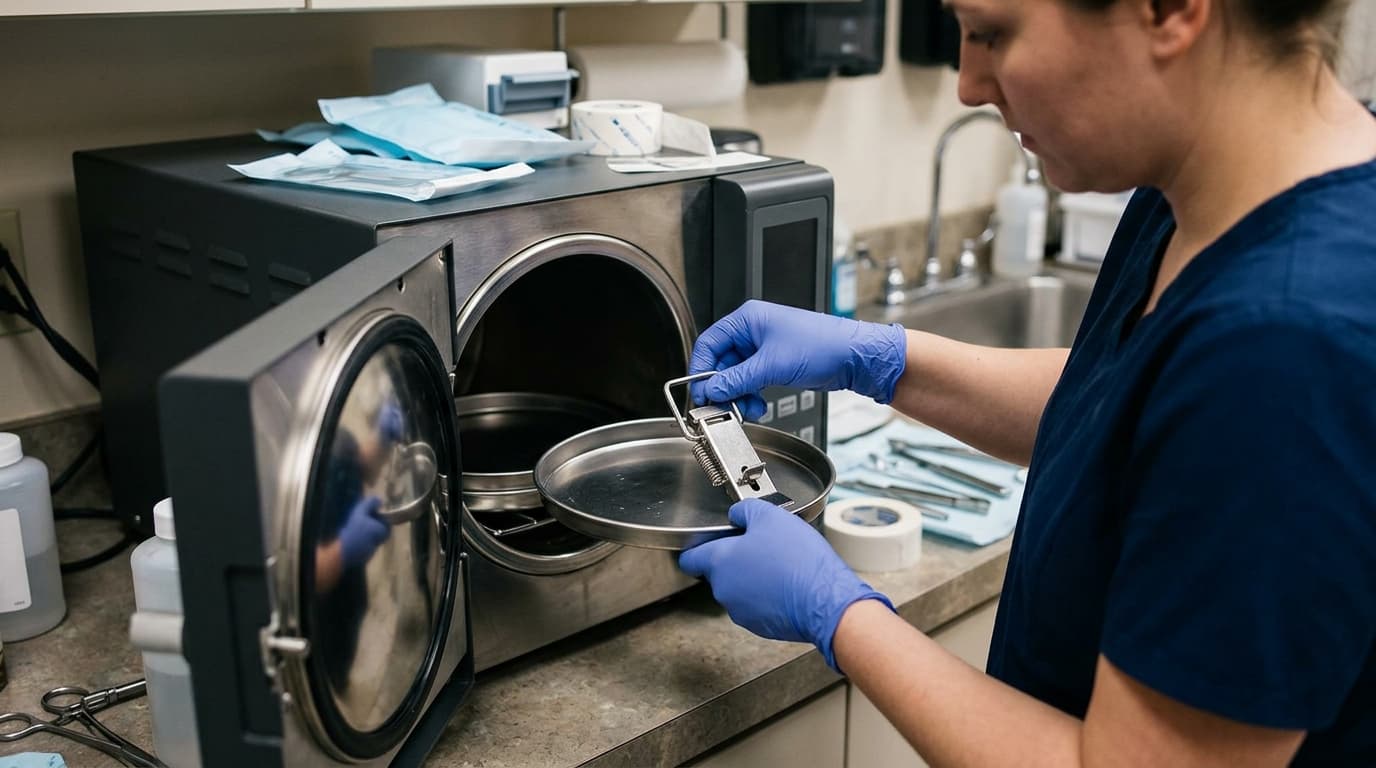
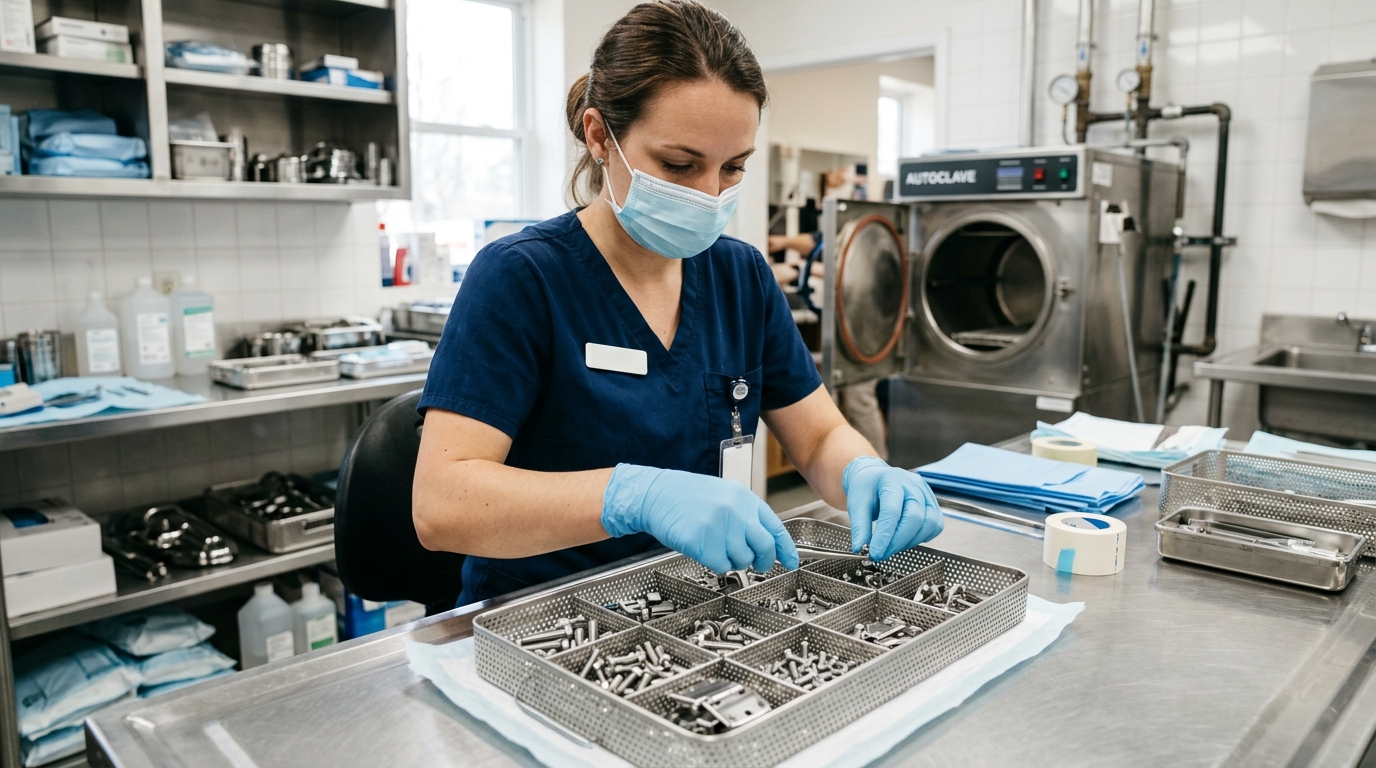
When processing removable components such as feeding bowls, divider track hardware, and latch assemblies, matching the cycle to the material prevents rapid degradation. Processing cage hardware in a veterinary autoclave requires specific thermal and pressure parameters to ensure complete sterilization without warping thinner metal plates.
- 121°C Standard Gravity Cycle (30 Minutes): The baseline setting for Type 304 hardware. This lower-temperature cycle prevents thermal shock in standard hinges while effectively neutralizing common nosocomial pathogens.
- 134°C Pre-Vacuum Cycle (4-10 Minutes): Designed for heavy-duty Type 316 marine-grade components. The pre-vacuum phase ensures steam penetrates complex latch mechanisms, cutting processing time by up to 60% compared to gravity cycles.
- 10-Minute Drying Phase: Skipping the dry cycle is a frequent error. Allowing wet stainless steel to cool rapidly outside the chamber invites flash rusting, particularly if the facility uses tap water rather than distilled water for steam generation.
Error Rate: Trained vs. Untrained Staff
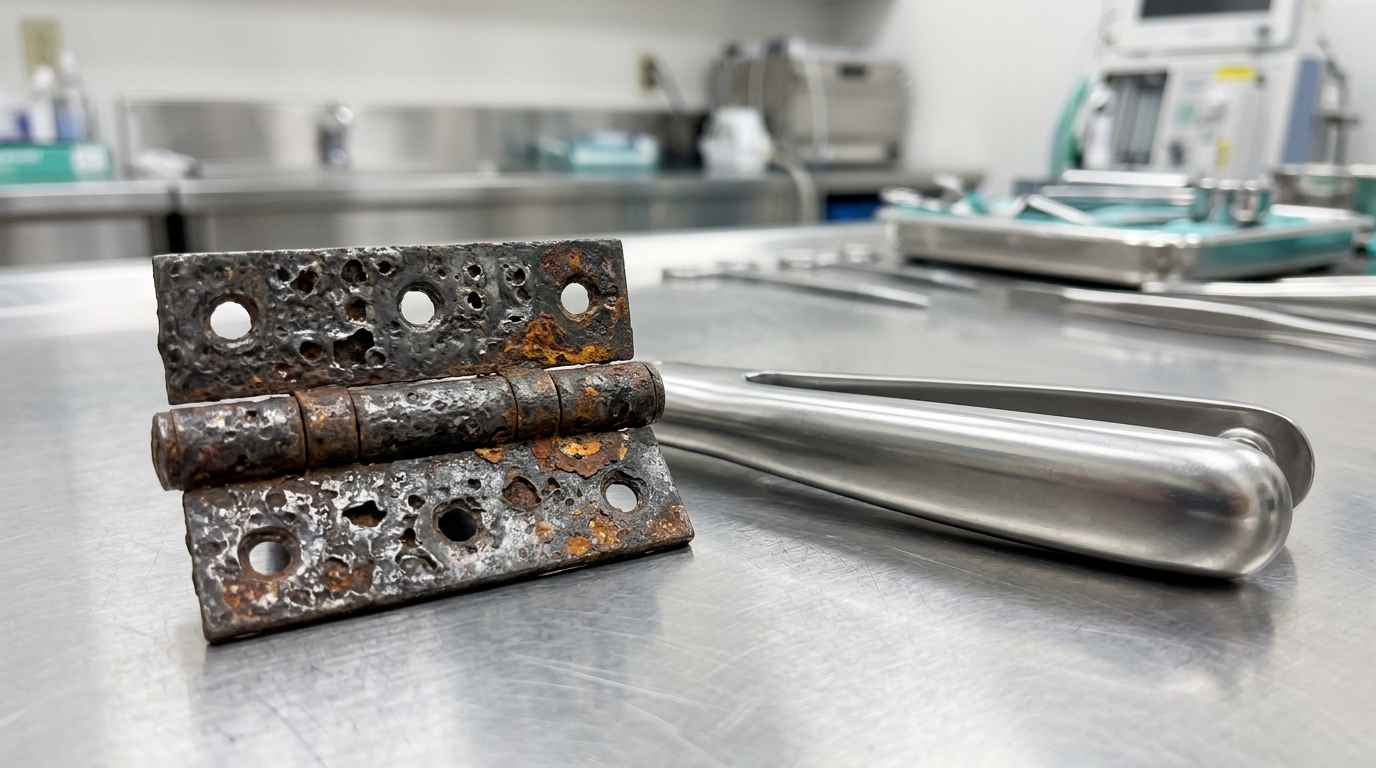
Human error during the preparation phase remains the primary cause of hardware failure in veterinary housing. Untrained personnel often leave chemical residue on metal surfaces before introducing them to the sterilization chamber. When harsh disinfectants meet pressurized steam, the resulting chemical reaction destroys the passive chromium oxide layer of the metal.
According to our technical lab's test, applying standard sodium hypochlorite (bleach) without a thorough distilled water rinse prior to a 121°C autoclave cycle accelerates micro-pitting in standard 304 stainless steel within just 14 cycles. Conversely, components processed by trained staff utilizing pH-neutral enzymatic cleaners and distilled water rinses showed zero pitting after 200 consecutive cycles. Implementing standard operating procedures (SOPs) for pre-sterilization rinsing is non-negotiable for asset protection.
Downtime Cost per Hour of Misuse
Equipment failure creates immediate operational bottlenecks. If an improper sterilization cycle warps a critical latch on a primary recovery unit, that specific compartment becomes non-compliant for patient housing. The financial impact extends far beyond the cost of a replacement hinge.
A mid-sized clinic loses approximately $45 to $80 per day in boarding or recovery capacity for every unavailable large-breed compartment. If specialized housing, such as the Pet Hospital Cage (For Dogs) PCG - A04, is rendered unusable for a standard five-day repair window, the facility absorbs up to $400 in lost revenue. Routine inspections and adherence to thermal thresholds prevent these avoidable capacity constraints and maintain continuous patient flow.
Maintenance Interval Benchmarks
Extending the lifespan of a clinical pet cage requires predictable, structured maintenance. Reactive repairs always cost more in labor and downtime than proactive servicing. Establish a rigid maintenance schedule to track hardware fatigue, hinge alignment, and surface integrity.
The following table outlines the industry-standard frequencies for inspecting and maintaining clinical housing units and their autoclave-safe components.
| Frequency | Task | Key Action |
|---|---|---|
| Daily | Visual Surface & Latch Inspection | Verify all latches engage smoothly. Check for residual biological matter or chemical pooling in corners prior to chemical wipe-downs. |
| Weekly | Hardware Autoclave Processing | Remove heavily soiled, autoclave-compatible hardware (bowls, removable latch pins). Process via 121°C gravity cycle after enzymatic rinse. |
| Monthly | Hinge Lubrication & Alignment | Apply veterinary-safe, non-toxic silicone lubricant to all door hinges. Re-torque any loose screws on divider tracks to prevent rattling. |
| Annual | Corrosion & Structural Audit | Conduct a full pass/fail audit. Replace any components showing early signs of pitting. Validate that floor leveling feet remain stable under maximum load. |
Data Summary: Optimization Impact
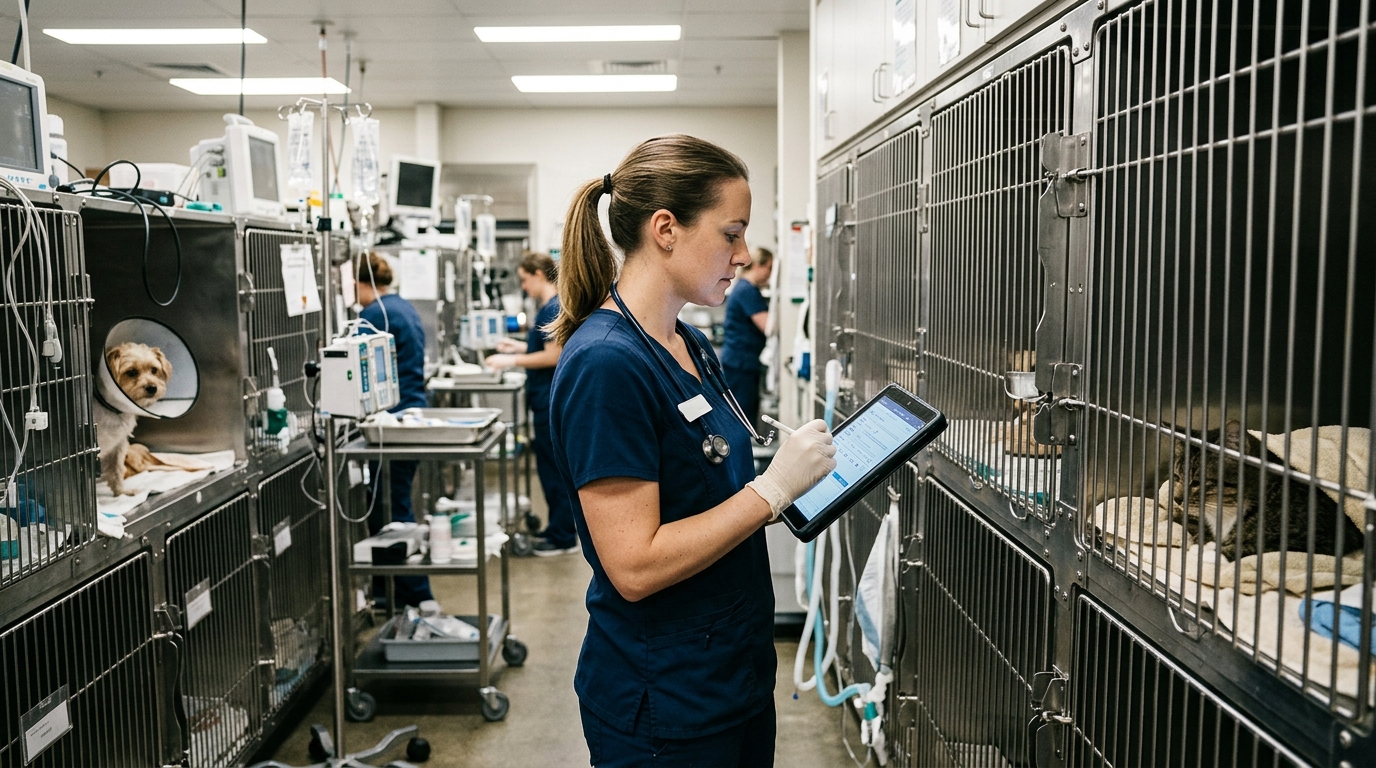
Implementing targeted material protocols and strict thermal processing parameters yields measurable improvements across the practice. By shifting from reactive chemical scrubbing to proactive thermal sterilization of compatible parts, clinics achieve higher compliance with infection control standards.
| Performance Metric | Unoptimized Protocol | Optimized Autoclave Protocol |
|---|---|---|
| Component Replacement Rate | Every 18-24 months | Every 5-7 years |
| Manual Scrubbing Time | 20 minutes per cage/week | 5 minutes per cage/week |
| Hardware Corrosion Incidence | High (Chemical pooling) | Low (Thermal validation) |
Frequently Asked Questions
Can all stainless steel pet cages be steam sterilized?
No. While smaller components (latches, bowls, trays) made of Type 304 or 316 stainless steel are fully compatible with clinical autoclaves, Type 201 steel or chrome-plated hardware will rapidly corrode under steam pressure. Always verify the alloy grade with your manufacturer before thermal processing.
What is the most common cause of rust on autoclave-safe cage hardware?
The primary cause of rust (pitting corrosion) on high-grade stainless steel is chemical residue. If a technician applies a chloride-based cleaner (like bleach) and fails to rinse it completely with distilled water before autoclaving, the heat accelerates a chemical reaction that strips the steel's protective chromium layer.
How often should we remove and autoclave cage latch assemblies?
For standard inpatient housing, weekly thermal processing of removable hardware is sufficient. However, for isolation wards handling parvovirus, panleukopenia, or severe dermatological conditions, capable hardware should be removed and processed via a 121°C or 134°C cycle between every patient transfer.
Does autoclaving cage hardware degrade the material over time?
True 304 and 316 stainless steel components are designed to withstand thousands of autoclave cycles with zero structural degradation, provided they are cleaned of organic debris and chemical residue prior to processing. Plastic, composite, or zinc-plated components will melt, warp, or flake after a single cycle.