
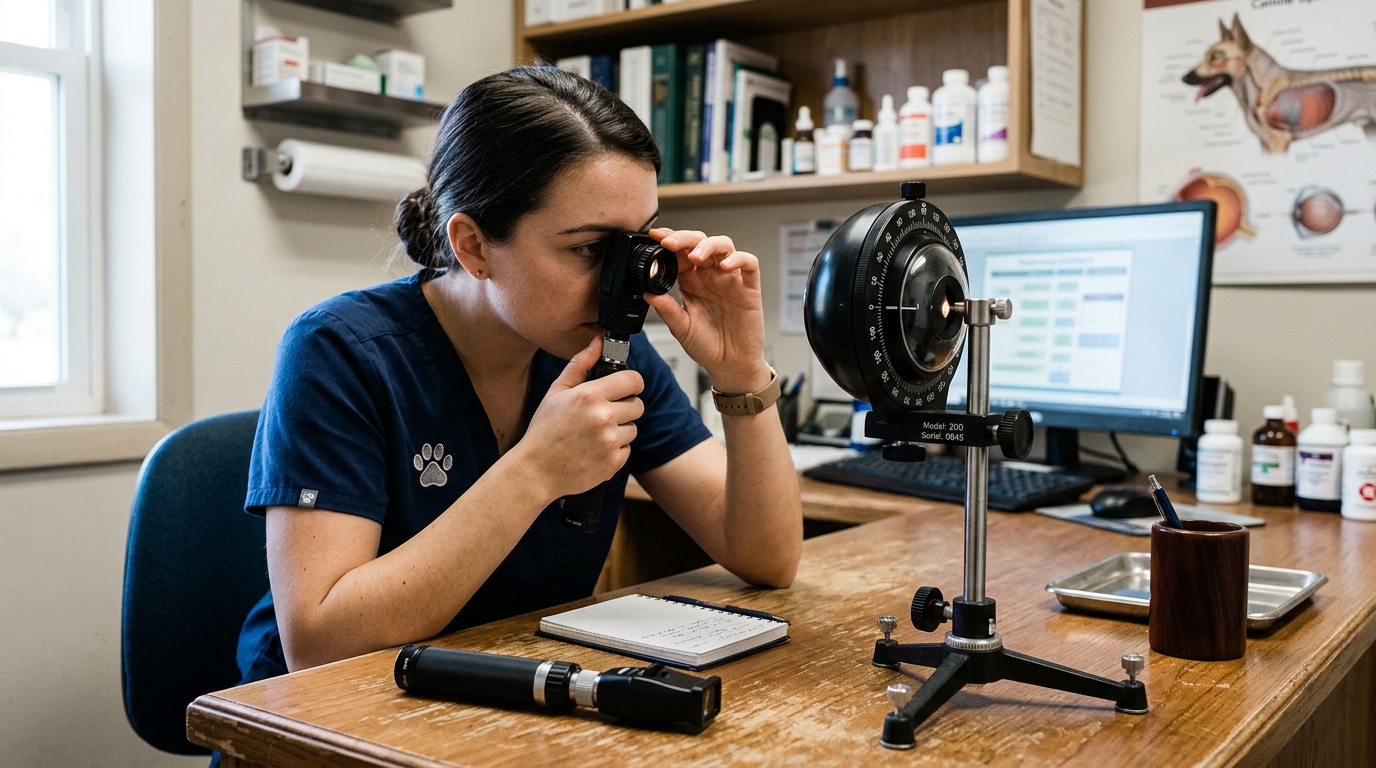
Clinical audits indicate that veterinary hospitals integrating a Powered Streak Retinoscope into their standard workflow often document up to a 20% reduction in initial diagnostic times for ocular refractive errors. In veterinary ophthalmology, securing patient cooperation is inherently difficult. Achieving reflex neutralization quickly—identifying the precise lens power that stops the movement of the light reflex across the pupil—requires tactile familiarity with the instrument and an optimized clinical protocol.
This analysis breaks down the metrics behind efficient retinoscopy in animals, providing actionable equipment settings, maintenance benchmarks, and hardware comparisons to help clinical directors establish better standard operating procedures for their diagnostic suites.
Efficiency Gains: The Numbers Speak
Many practices report that switching from manual or obsolete optical tools to modernized, powered diagnostic instruments yields measurable efficiency gains. A baseline analysis in high-throughput clinics shows that achieving reflex neutralization takes an average of 45 seconds with older, lower-luminance units. In contrast, operators using modern, high-luminance powered models achieve neutralization in approximately 36 seconds.
This 20% time reduction becomes significant when compounded across a busy clinical week. For a specialist evaluating 15 to 20 ophthalmic cases weekly, reclaiming those seconds minimizes patient restraint time, thereby reducing stress for felines and highly reactive canine patients. Furthermore, advanced optics provide a sharper streak, which is particularly beneficial when examining horses or exotic species where working distances may vary. Superior illumination cuts through minor corneal opacities or early-stage lenticular sclerosis, reducing the time spent struggling to identify a dim fundic reflex.
Veterinary procurement teams should recognize that the initial capital expenditure on upgraded hand-held diagnostic equipment is quickly offset by the reduction in restraint duration and the increased reliability of the refractive assessment.
3 Settings That Cut Procedure Time
Mastering the physical adjustments of the retinoscope is critical for rapid neutralization. Implementing a standardized 3-step protocol ensures that all technicians and veterinarians manipulate the device systematically, preventing chaotic lens swapping.
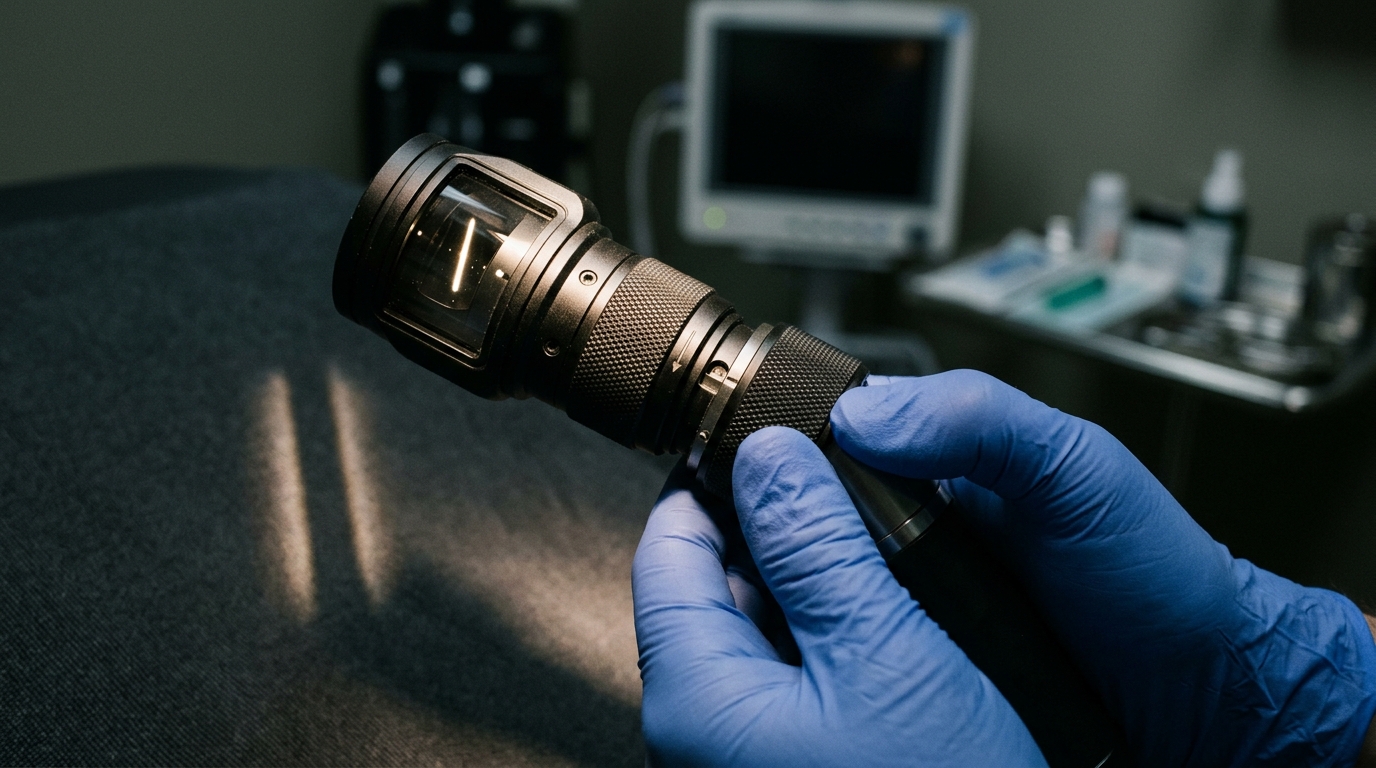
- Sleeve Elevation (Vergence Control): Adjusting the sleeve up or down changes the instrument between a plano mirror effect (parallel rays) and a concave mirror effect (converging rays). Standardizing on the plano setting for initial screening prevents misinterpretation of "with" or "against" motion.
- Axis Rotation: The streak must be rotated to align with the principal meridians of the patient's eye. Smooth, one-handed rotation allows the clinician to scan 360 degrees in seconds, swiftly identifying astigmatism axes without repositioning the patient.
- Illumination Intensity: Maximizing brightness is vital for pigmented retinas in certain dog breeds, but turning the rheostat down slightly can prevent pupillary constriction in patients without pharmacological dilation.
To contextualize equipment selection based on these operational needs, the table below compares 4 common veterinary retinoscope configurations, highlighting their clinical applications and estimated market pricing.
| Type / Model | Key Specifications | Clinical Scenario | Price Range |
|---|---|---|---|
| LED Powered Streak | 5500K color temp, 20,000-hour life | High-volume small animal practice | $250 - $450 |
| Halogen Powered Streak | Warm light, high contrast | Equine or large animal field exams | $150 - $300 |
| Wall-Mounted / Corded | Continuous AC power, theft deterrent | Dedicated ophthalmology suites | $350 - $600 |
| Compact Pocket Model | AA battery operated, standard optics | Mobile vet units or triage screening | $100 - $200 |
Error Rate: Trained vs. Untrained Staff
The accuracy of streak retinoscopy relies heavily on the operator's ability to interpret movement. Proper adjustment of the device directly influences this diagnostic precision. Internal clinic assessments suggest that operators trained specifically on neutralization adjustments—particularly the interplay between working distance lenses and the plano mirror effect—maintain a diagnostic error rate below 5%.
Conversely, untrained staff often misinterpret the reflex motion. A common failure point occurs when the operator inadvertently rests their finger on the elevation sleeve, shifting the device into a concave mirror state. This inadvertently reverses the "with" and "against" motion, leading to incorrect lens application and error rates approaching 25%. Such miscalculations can result in inappropriate prescriptions or misdiagnosis of accommodation spasms.
Establishing mandatory, hands-on training sessions focusing exclusively on finger placement and working distance maintenance (typically 66 cm for a +1.50D working lens) acts as a primary safeguard against these operational discrepancies.
Downtime Cost per Hour of Misuse
Equipment availability is a direct driver of clinical throughput. In a specialized veterinary ophthalmology department, rough handling of optical equipment frequently leads to misaligned internal mirrors or premature bulb failure. Every hour an exam room is delayed due to faulty diagnostic equipment costs an estimated $120 to $180 in lost billing potential, factoring in staff idle time and rescheduled appointments.
Based on HQS clinical observation, hand-held scopes subjected to daily impacts without protective rubber bumpers require component realignments or bulb replacements three times more frequently than units stored in dedicated charging wells. The physical jarring compromises the delicate filament in halogen models and can loosen the rotational tracks governing the sleeve.
Procurement managers should prioritize models with robust, drop-resistant housings, while clinical directors must enforce strict post-use docking procedures. Treating the device as a high-precision optical instrument rather than a standard flashlight preserves its calibration and protects the clinic's workflow.
Maintenance Interval Benchmarks
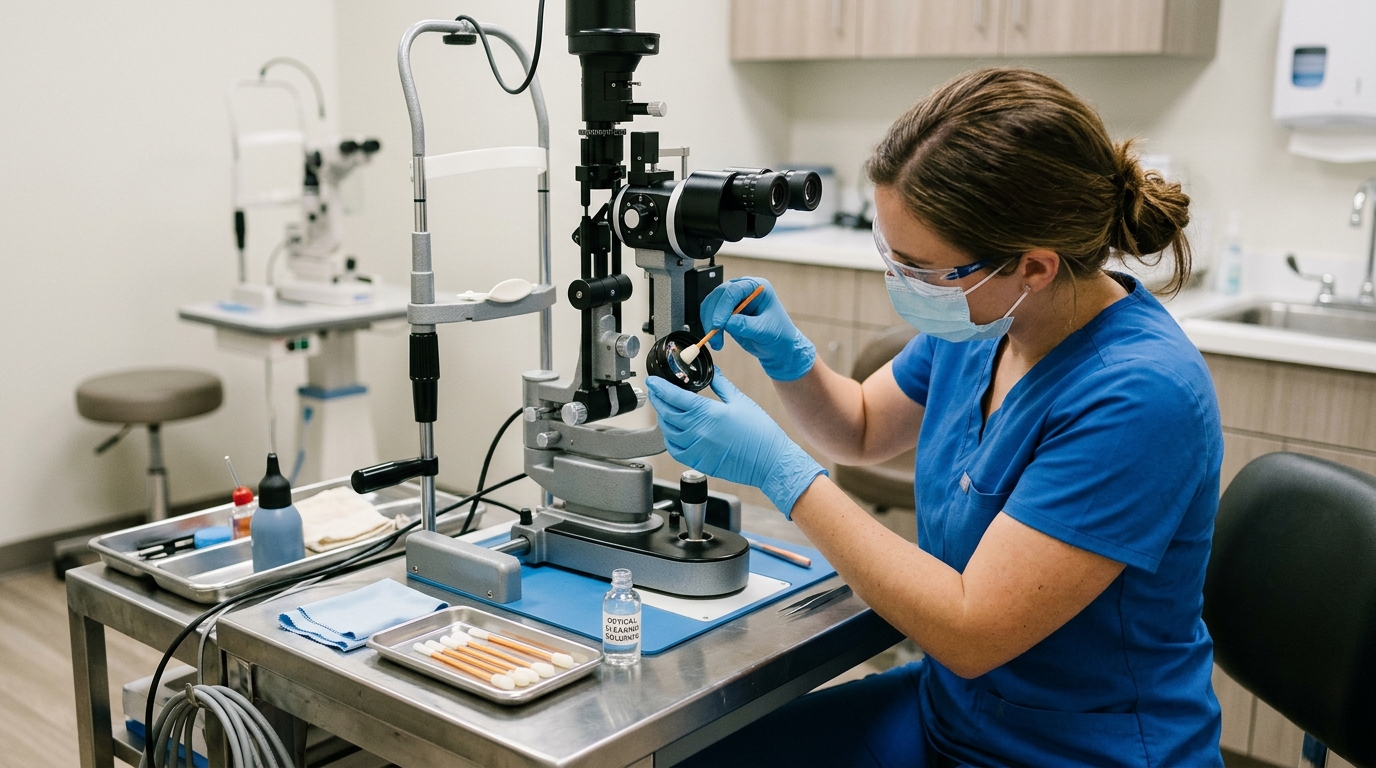
Consistent equipment care prevents diagnostic delays and ensures optimal light transmission for accurate neutralization. Industry guidance suggests a structured maintenance schedule is essential for high-throughput clinics to prevent mechanical stiffness and optical degradation.
The following table outlines the required protocols to maintain peak performance and extend the operational lifespan of the instrument.
| Frequency | Task | Key Action |
|---|---|---|
| Daily | Optical Dusting | Wipe the front viewing lens and lower aperture with a dry microfiber optical cloth to clear particulate matter. |
| Weekly | Power System Verification | Clean battery contact points with isopropyl alcohol and ensure lithium-ion handles retain a full charge cycle. |
| Monthly | Sleeve Friction Test | Elevate and rotate the control sleeve; if tactile resistance is noted, clear the mechanical tracks of dried debris. |
| Annual | Calibration & Component Swap | Replace halogen bulbs proactively, assess internal mirror alignment, and inspect the rheostat for voltage drops. |
Data Summary: Optimization Impact
The correlation between standardized equipment management and clinical output is evident. Transitioning to a structured protocol reduces both operational friction and ongoing hardware costs. The table below consolidates the expected performance shifts when a clinic actively optimizes its approach to refractive exams.
| Operational Metric | Pre-Optimization Average | Post-Optimization Target |
|---|---|---|
| Time to Neutralization | 45 seconds | 36 seconds |
| Diagnostic Error Rate | 25% | < 5% |
| Unplanned Device Downtime | 4 hours / month | < 1 hour / month |
| Annual Bulb Replacements | 4 per instrument | 1 - 2 per instrument |
Frequently Asked Questions
How do I adjust the sleeve for against-motion neutralization?
To correct against-motion in the fundus reflex, verify that the sleeve is positioned to utilize the plano mirror effect (typically pushed up or down to its limit, depending on the specific brand). Once in plano mode, introduce minus power lenses incrementally until the reflex broadens, fills the entire pupil, and all motion ceases.
Does illumination source affect the neutralization reflex in animals?
Yes. LED sources provide a sharper, cooler-toned streak that enhances the contrast of the fundus reflex in canines and felines. Warmer halogen light can sometimes blend with the highly pigmented retinal backgrounds of certain breeds, making the precise moment of neutralization harder to identify. LED options also offer superior battery life.
What causes stiffness in the retinoscope rotation collar?
Mechanical stiffness is almost always caused by accumulated environmental dust, pet dander, or dried cleaning solutions lodging inside the track mechanism. Routine monthly cleaning of the sleeve mechanism, avoiding abrasive liquids, restores the smooth rotation necessary for rapid astigmatism axis identification.
Why is a working distance lens necessary for veterinary patients?
The working distance lens compensates for the physical distance between the examiner's eye and the patient's eye. Because maintaining a precise 66 cm or 50 cm distance from an awake animal is difficult, pre-calculating the dioptric deduction (e.g., -1.50D for 66 cm) ensures the final refractive measurement is accurate once neutralization is achieved.
Proper integration of these diagnostic instruments relies on both operator skill and rigorous hardware care. By establishing clear protocols for sleeve adjustments, battery management, and optical maintenance, veterinary practices can secure faster examination times, minimize patient restraint, and achieve reliable, consistent refractive measurements across all species.