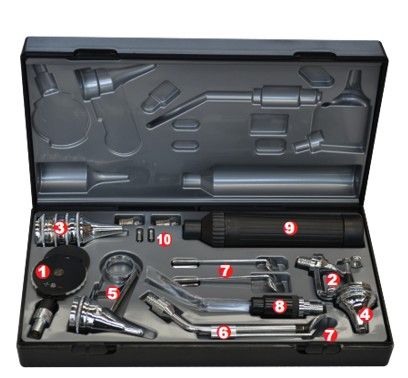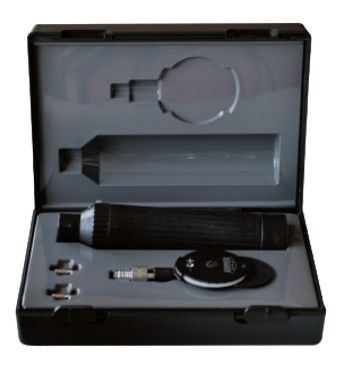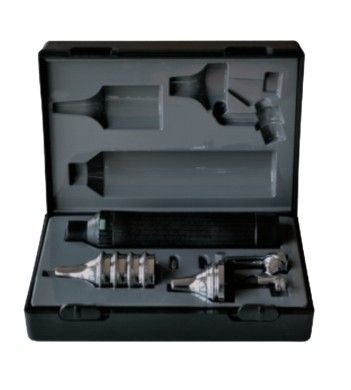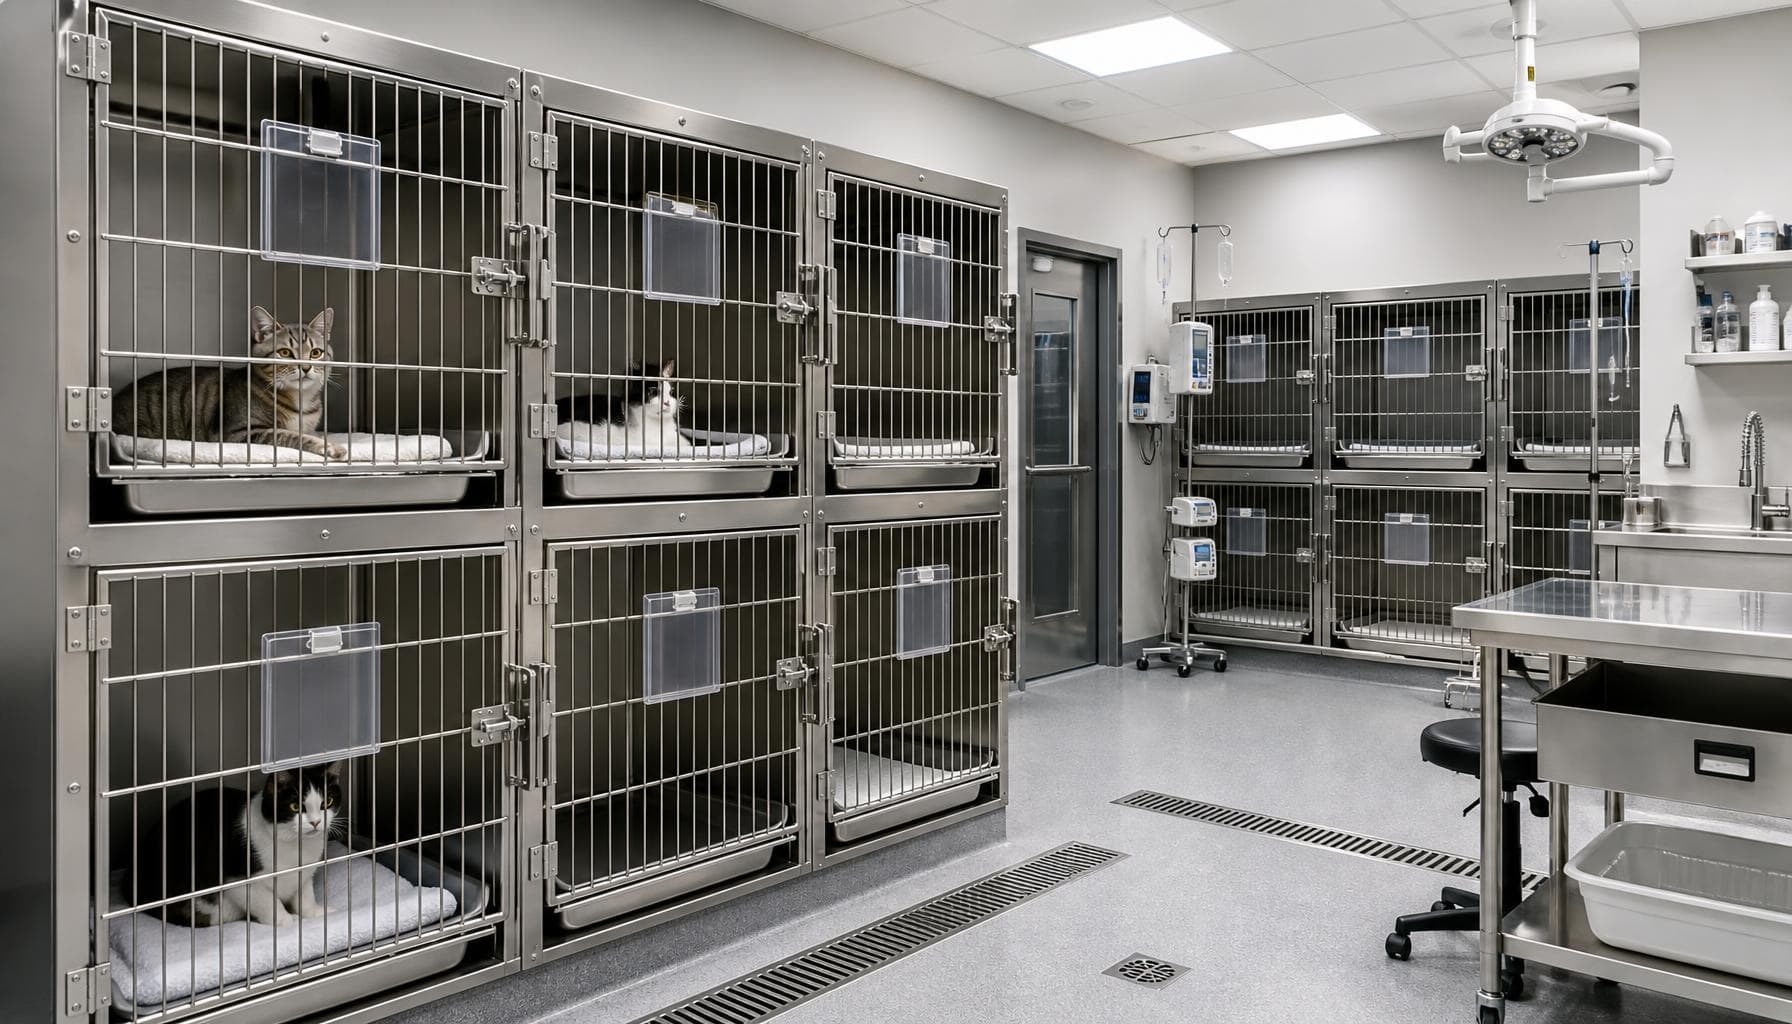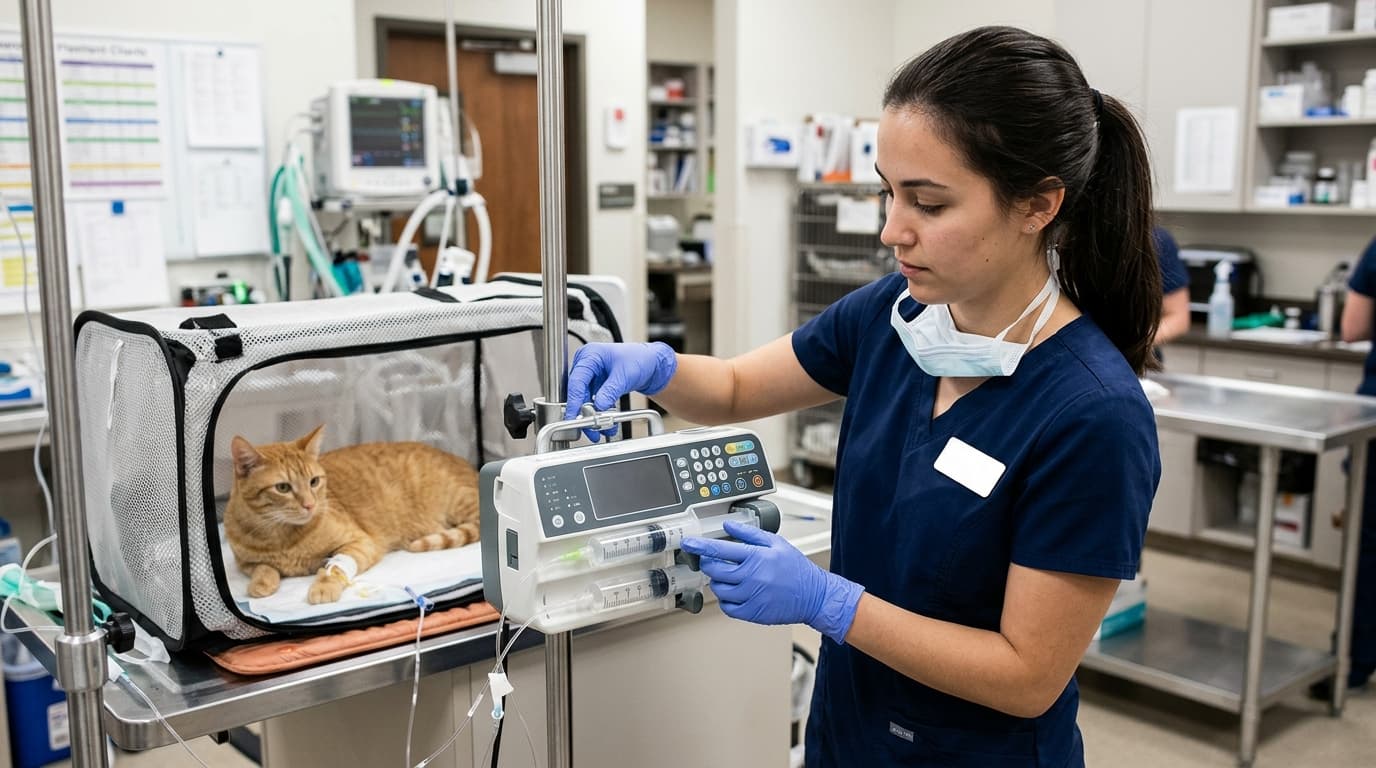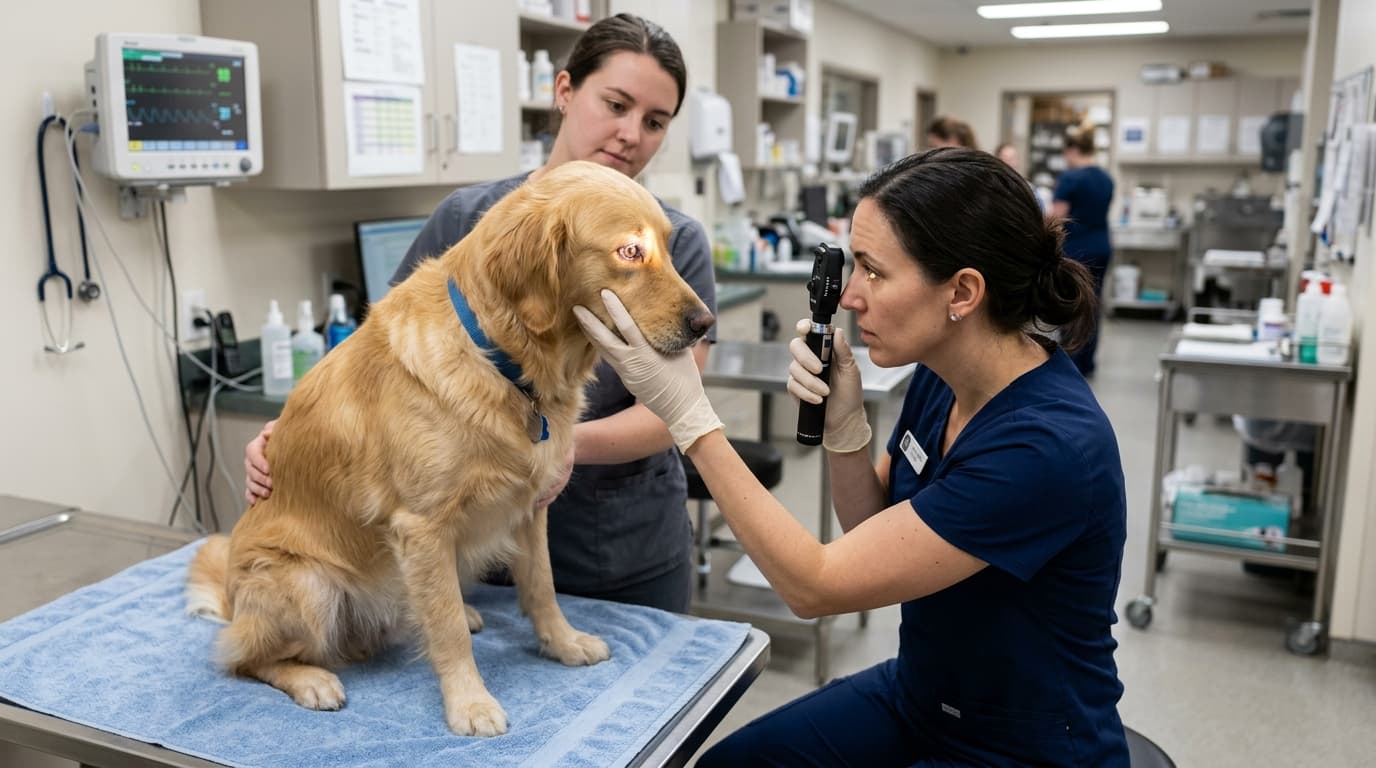
Clinic workflow analyses indicate that matching the right ophthalmoscope configuration to specific veterinary environments reduces diagnostic setup time by approximately 40%. While these optical tools are frequently integrated into standard physical assessments alongside standard ENT Diagnostic Set WG - I configurations, their specific clinical value requires standalone workflow considerations. The decision between mobile and fixed equipment dictates battery management, space utilization, and long-term operating costs.
This report compares 2 primary ophthalmoscope types—portable handles and wall-mounted units—evaluating their impact on clinical efficiency, procedural accuracy, and equipment lifespan across varying hospital zones.
Efficiency Gains: The Numbers Speak
Veterinary environments demand high adaptability, particularly when transitioning between species and clinical urgency levels. Workflow data highlights a distinct performance divide based on deployment location.
In high-volume triage settings or emergency rooms, portable units demonstrate an advantage. Clinicians save an average of 2 to 3 minutes per patient by bringing the instrument directly to mobility-restricted animals, rather than repositioning a 40-kilogram canine to reach a fixed wall cord. Conversely, in dedicated feline consultation rooms, wall-mounted units eliminate the risk of missing equipment. Practices utilizing fixed diagnostic stations report a near 0% incidence of battery-related workflow interruptions during critical exams.
- Triage Optimization: Mobile units reduce spatial constraints around emergency tables.
- Consultation Stability: Fixed units guarantee continuous power and consistent illumination output.
- Ergonomic Adaptation: Cordless models prevent entanglement during complex equine field exams.
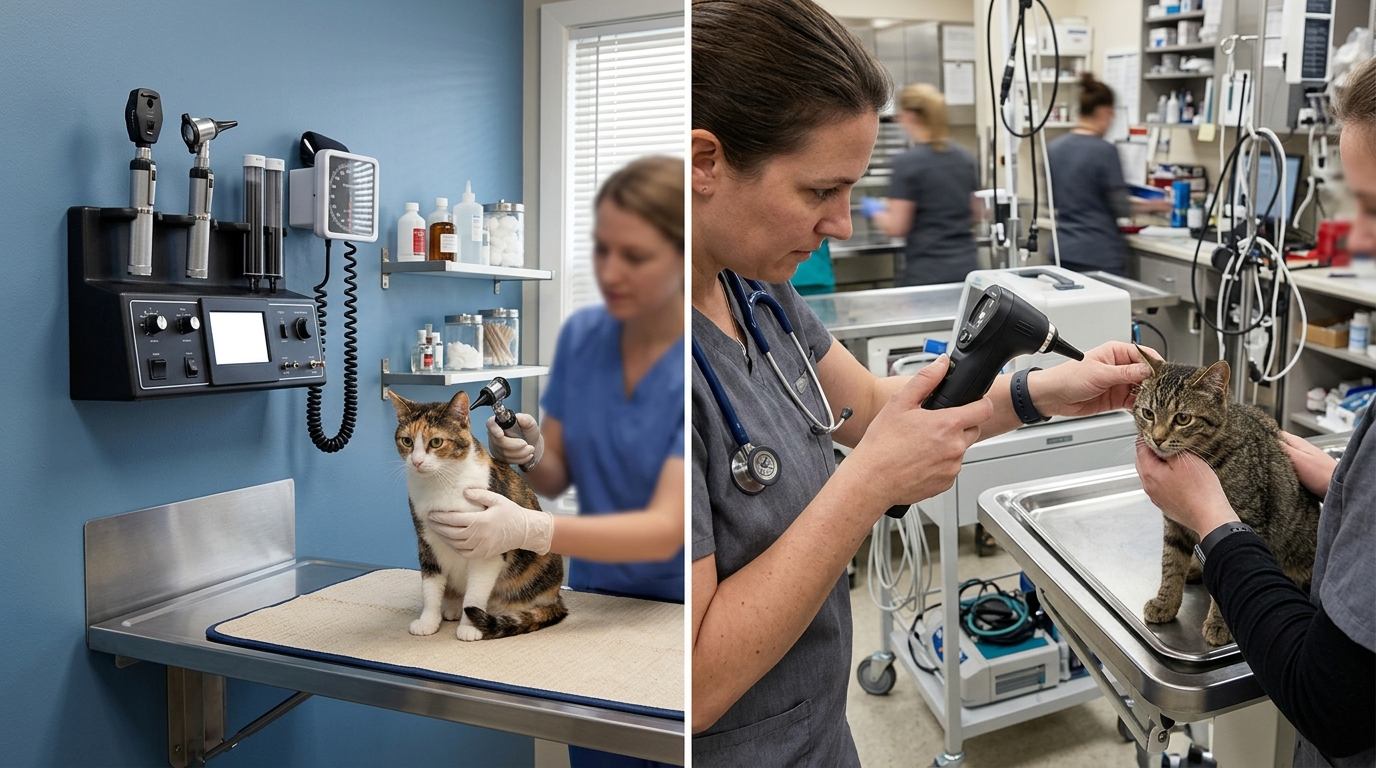
3 Metrics That Matter: Portable vs Wall Units
Selecting equipment requires evaluating the total cost of ownership against clinical utility. The following comparison table outlines the performance parameters and cost analysis for the 2 primary configurations.
| Type/Model | Key Parameters | Clinical Scenario | Price Range |
|---|---|---|---|
| Rechargeable Portable (e.g., Ophthalmoscope (Rechargeable) 8B) | Lithium-ion battery, 3.5V LED, 150g weight | ER triage, equine field exams, multi-room sharing | $200 – $800 |
| Alkaline Portable | AA battery operation, 2.5V Xenon, high portability | Mobile clinics, backup field kits, remote triage | $100 – $300 |
| Standard Wall Unit | 110V/220V hardwired, coiled extension cord (3m) | Dedicated consultation rooms, baseline checkups | $500 – $1,200 |
| Integrated Diagnostic Station | Shared power supply with otoscope/ENT tools, auto-on/off | High-traffic central treatment areas, specialized eye clinics | $800 – $2,500 |
3 Settings That Cut Procedure Time
Diagnostic efficiency relies on mastering the instrument's interface before approaching the animal. Adjusting settings during patient restraint increases stress and prolongs the exam.
First, aperture selection dictates visualization success. Using a micro-spot aperture for undilated feline pupils prevents excessive glare and immediate photophobia, allowing for a sustained view of the fundus. Using a large aperture in this scenario typically causes immediate pupil constriction. Second, applying the appropriate filter—such as a cobalt blue filter combined with fluorescein stain—rapidly isolates corneal abrasions without requiring secondary light sources. Third, utilizing the diopter dial (-25 to +40) efficiently requires the practitioner to understand their own refractive error. Technicians who pre-set the dial to compensate for their own vision save critical seconds during focus adjustment.
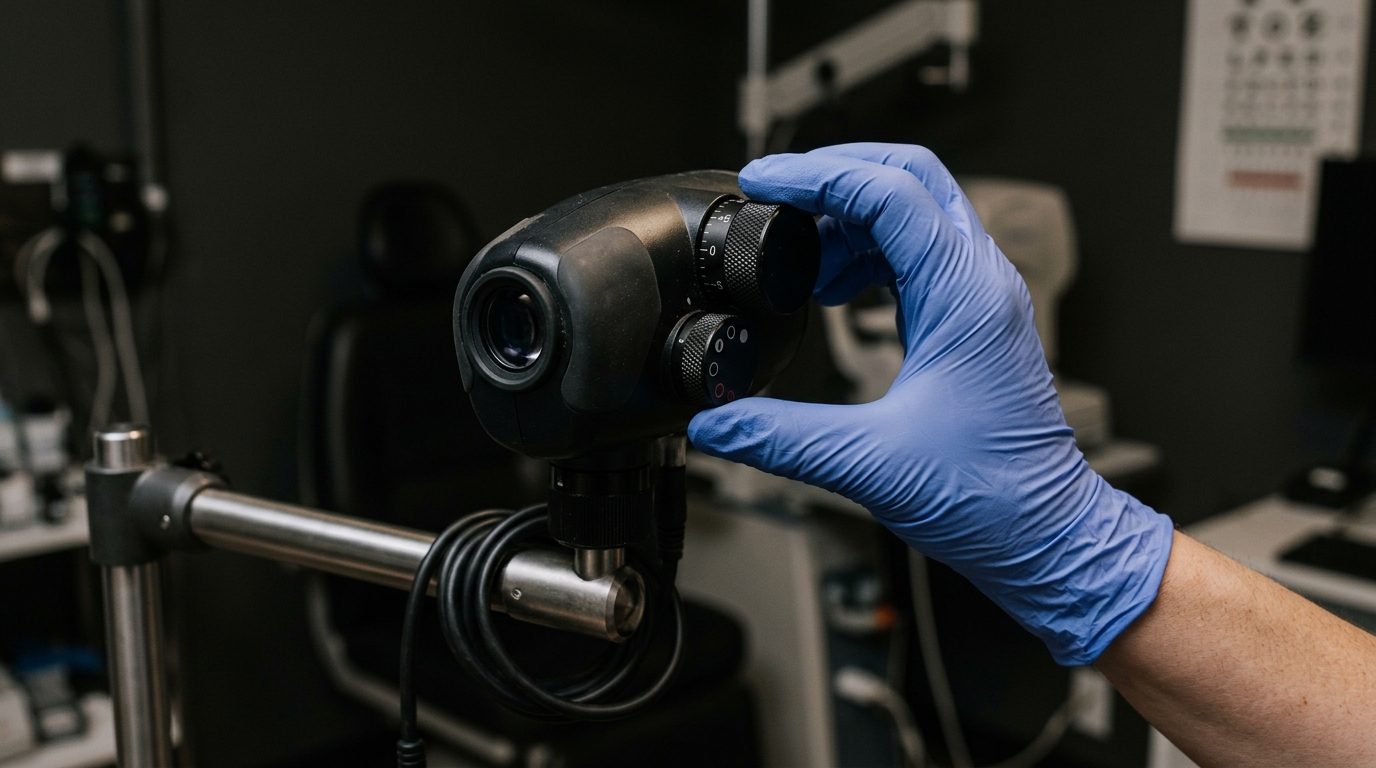
Error Rate: Trained vs. Untrained Staff
Equipment sophistication cannot compensate for improper technique. Observational data indicates a 35% reduction in missed subtle retinal lesions when veterinary technicians follow a standardized setup protocol before engaging the patient.
Based on HQS clinical observation, veterinary staff who regularly calibrate their optics ring to their own visual acuity prior to entering the exam room reduce diagnostic hesitation by nearly half. Untrained staff frequently attempt to focus the beam while already positioned centimeters from the animal's face, leading to sudden movements, loss of the optical axis, and incomplete fundic evaluations. Establishing a standard training protocol for setting brightness, aperture, and focal length ensures the instrument performs as designed.
Downtime Cost per Hour of Misuse
Financial losses in clinical diagnostics stem directly from preventable equipment failure. The misuse of standard ophthalmology devices generates immediate repair costs and secondary workflow bottlenecks.
For portable units, drop damage is the leading cause of failure. A shattered optic head can cost upwards of $300 to replace, alongside the lost revenue of deferred exams while awaiting parts. For wall units, repeatedly over-stretching the coiled cord leads to internal wiring fractures. A frayed hardwired cord may necessitate a $150 service call and render the consultation room inefficient for 48 hours. Proper handling and adherence to a strict 4-step maintenance schedule mitigates these preventable expenses.
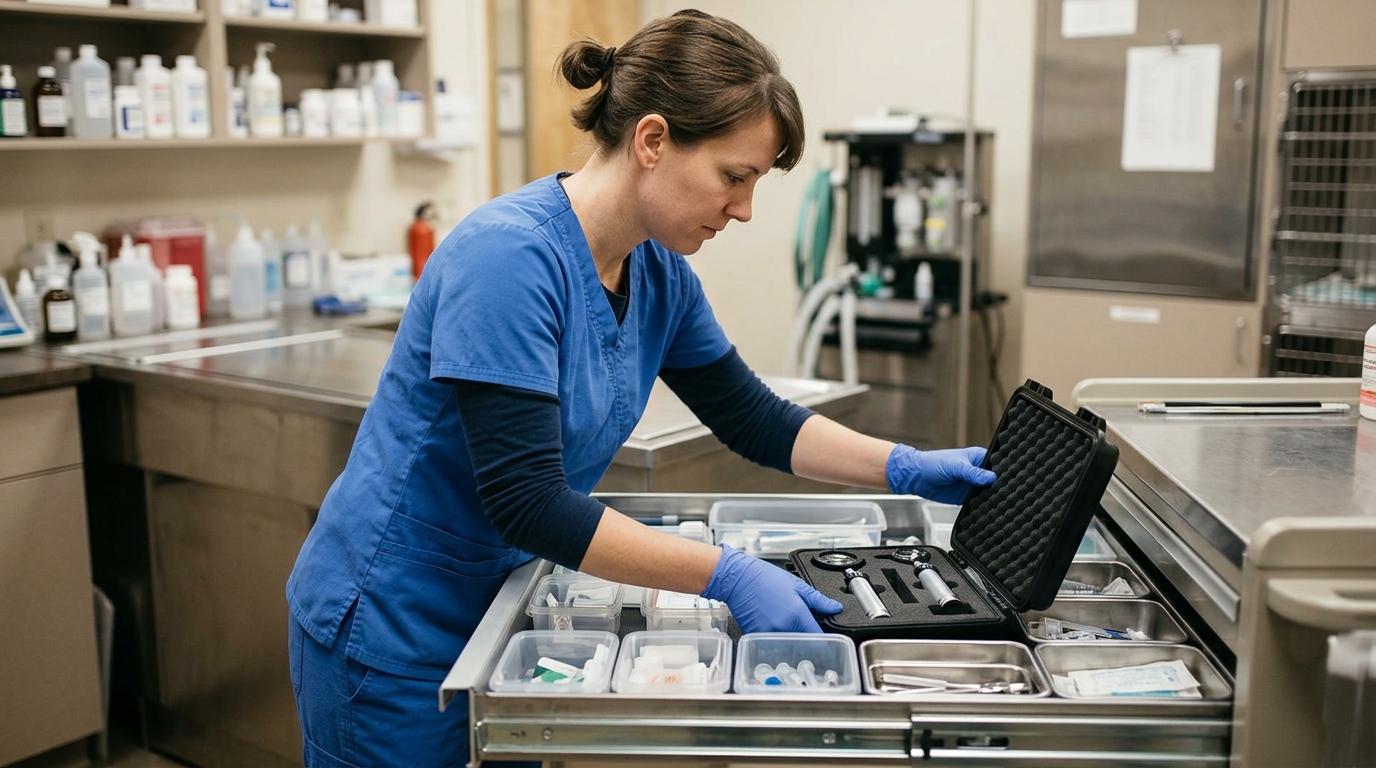
Maintenance Interval Benchmarks
To maximize the lifespan of diagnostic optics and maintain consistent illumination, clinics should implement a structured 4-step maintenance schedule. The table below outlines the necessary protocols.
| Frequency | Task | Key Action |
|---|---|---|
| Daily | Lens & Aperture Cleaning | Wipe the viewing window and dust cover with 70% isopropyl alcohol using a non-abrasive optical cloth. Do not soak. |
| Weekly | Battery & Cord Inspection | For portables: Check contact pins for corrosion. For wall units: Inspect coiled cords for over-extension or fraying. |
| Monthly | Dial Calibration Check | Rotate the diopter and aperture dials through their full range of motion to ensure smooth clicking and clear beam edges. |
| Annual | Illumination Validation | Compare LED/Halogen output against a known baseline. Replace bulbs if yellowing occurs. Conduct hospital electrical safety checks. |
Data Summary: Optimization Impact
Implementing targeted equipment selection and rigorous maintenance protocols yields measurable clinical benefits.
| Optimization Focus | Workflow Impact | Financial Impact |
|---|---|---|
| Triage Mobility (Portable) | Reduces setup time by 2-3 minutes per patient | Increases daily case throughput in ER |
| Room Stability (Wall Unit) | 0% battery-related procedure interruptions | Eliminates replacement battery costs |
| Pre-Exam Calibration | 35% reduction in diagnostic hesitation | Prevents repeat exams and missed billing |
| 4-Step Maintenance | Extends optic head lifespan by up to 3 years | Avoids $150-$300 emergency repair fees |
Frequently Asked Questions
What aperture is most appropriate for a general small animal exam?
For routine examinations of dogs and cats without chemical dilation, a small or micro-spot aperture is most appropriate. It provides a clear view through a naturally constricted pupil while minimizing corneal glare and patient discomfort associated with large, intense light beams.
How do power requirements differ between handheld and fixed units?
Handheld rechargeable models typically utilize 3.5V Lithium-ion handles that require a dedicated docking station or USB-C charging block. Fixed wall units are hardwired into the clinic's 110V/220V electrical grid, stepping down the voltage internally, which provides continuous power but requires professional installation near the exam table.
Can optical heads be shared with other diagnostic equipment?
In many modular systems, standard 3.5V optic heads can be interchanged on the same handle used for otoscopes or specialized ENT examinations, provided they share the same locking mechanism (e.g., bayonet or twist-lock). However, mixing brands or voltage ratings will result in poor illumination or immediate bulb failure.