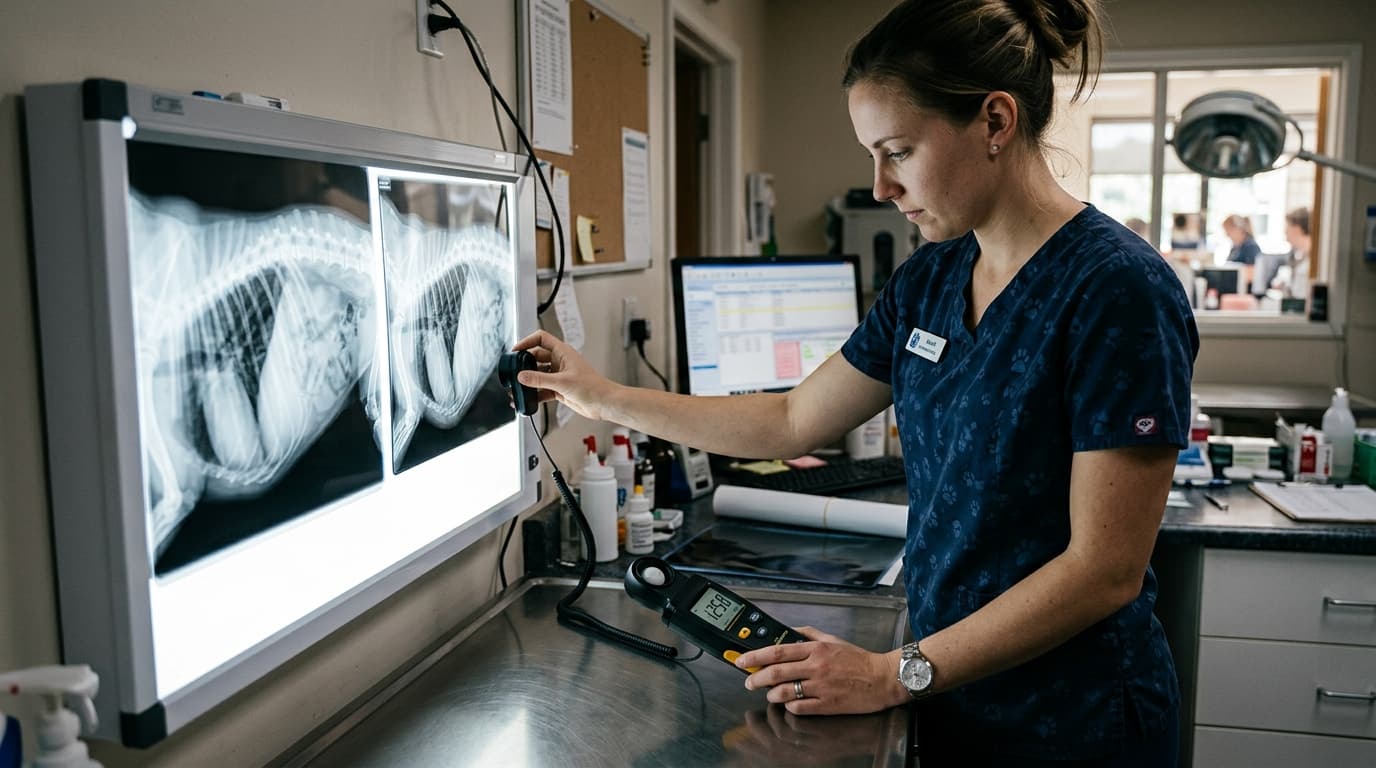
In diagnostic veterinary medicine, image clarity dictates treatment accuracy. While many clinics focus capital expenditure on image acquisition systems, diagnostic viewing environments remain heavily under-optimized. Clinical industry data suggests that up to 15% of subtle bone fissures or early-stage pulmonary nodules are initially missed or misinterpreted due to degraded light uniformity on viewing equipment. Standardizing X-ray film illuminator maintenance is not merely an administrative task; it is a clinical requirement for maintaining high-contrast resolution, reducing eye fatigue for practitioners, and accelerating diagnostic workflows.
Efficiency Gains: The Numbers Speak
Optimizing viewing equipment yields measurable improvements in daily clinic throughput. When a viewing screen delivers a consistent luminance of over 4,000 candelas per square meter (cd/m2) with a uniformity variance of less than 10%, veterinarians evaluate radiographs significantly faster. Routine visual assessments of high-contrast films, such as orthopedic evaluations for canine cruciate ligament ruptures, show an average read-time reduction of 18 seconds per study when screen flicker and edge-shadowing are eliminated. Over a high-volume week of 50 radiographic studies, this equates to 15 minutes of saved veterinary time, translating directly into increased clinical availability.
Conversely, degraded acrylic diffusers or failing backlight arrays force clinicians to manually reposition films across the screen to find "bright spots," disrupting the cognitive process of visual assessment. Maintaining strict uniformity protocols ensures the equipment operates at peak optical performance, directly supporting diagnostic speed.
3 Settings That Cut Procedure Time
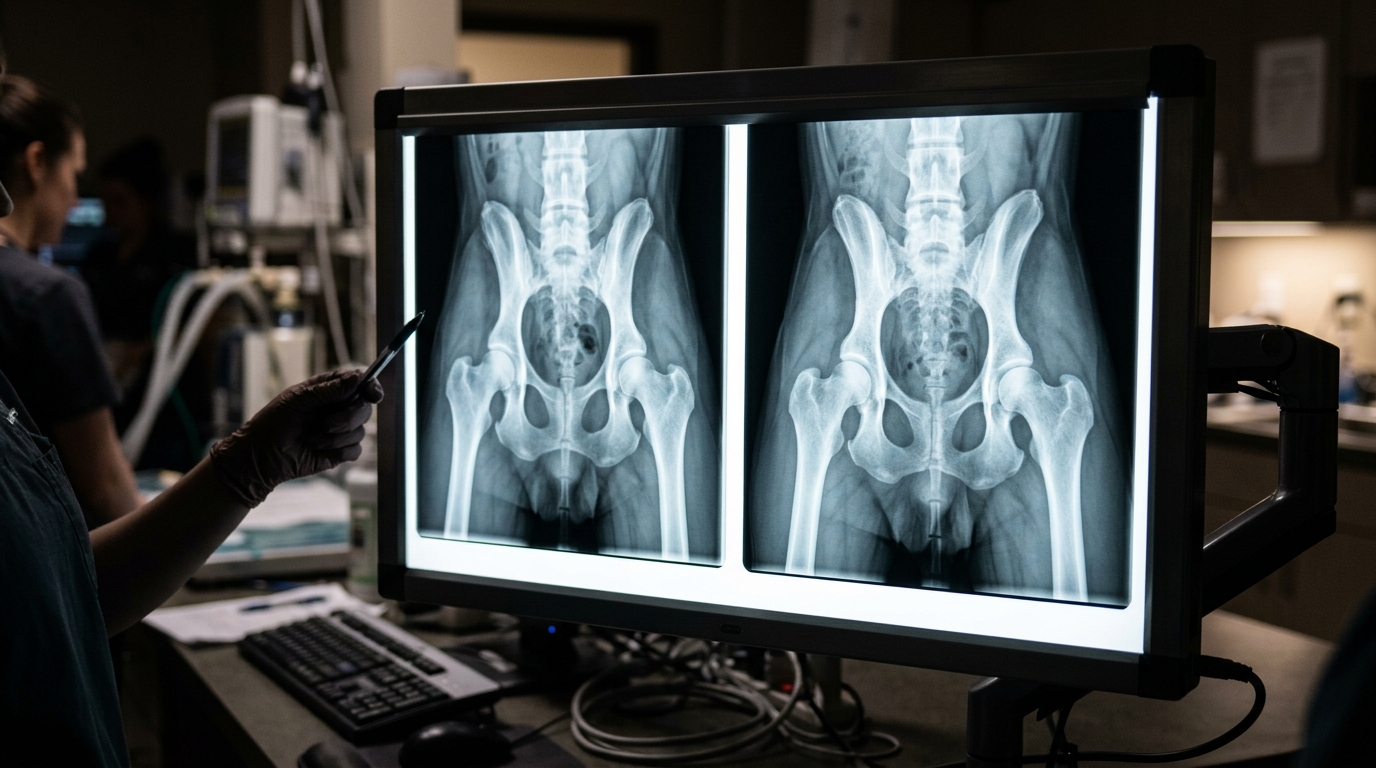
Modern viewing systems incorporate adjustable parameters that directly influence clinical efficiency. By standardizing these three operational settings, hospitals reduce diagnostic bottlenecks:
1. Luminance Calibration (Lux/cd/m2): Ensuring the panel output exceeds 3,500 cd/m2 is critical for dense tissue evaluation. Operating below this threshold obscures soft tissue margins, while excessive brightness without adjustment causes immediate practitioner eye strain. Utilizing dimmable LED arrays allows technicians to match the light output to the film's specific optical density.
2. Color Temperature Control: Veterinary radiology requires a cool, daylight color spectrum. Calibrating the panel to operate consistently between 6,500K and 8,500K enhances the visual contrast of grayscale gradients, making micro-calcifications easier to spot against surrounding tissues.
3. Segmented Auto-Activation: Implementing equipment with film-activated micro-switches ensures that only the section of the screen holding a film illuminates. This minimizes ambient light glare in the darkroom or reading area, improving the veterinarian's pupil adaptation time and cutting overall assessment duration.
Illuminator Comparison: 4 Clinical Configurations
Selecting the appropriate viewing hardware dictates the baseline uniformity your clinic can achieve. While many modern facilities integrate veterinary digital x-ray systems, physical illuminators remain critical for surgical templating, integrating historical analog records, and emergency trauma review. The table below compares standard configurations.
| Equipment Type | Key Specifications (Luminance & Uniformity) | Primary Clinical Scenario | Estimated Price Range |
|---|---|---|---|
| Single Bank CCFL | 2,000 cd/m2, ~75% Uniformity, high flicker | Low-volume outpatient clinics, basic review | $150 - $300 |
| Single Bank Edge-Lit LED | 4,000 cd/m2, >90% Uniformity, no flicker | Feline/Exotic practices, standard diagnostics | $300 - $550 |
| Dual Bank Matrix LED | >5,000 cd/m2, >95% Uniformity, auto-sensors | Orthopedic surgery centers, high-volume trauma | $600 - $1,100 |
| Quad Bank Matrix LED | >5,000 cd/m2, >95% Uniformity, segmented zones | Equine hospitals, full-body canine trauma series | $1,200 - $2,500 |
Error Rate: Trained vs. Untrained Staff
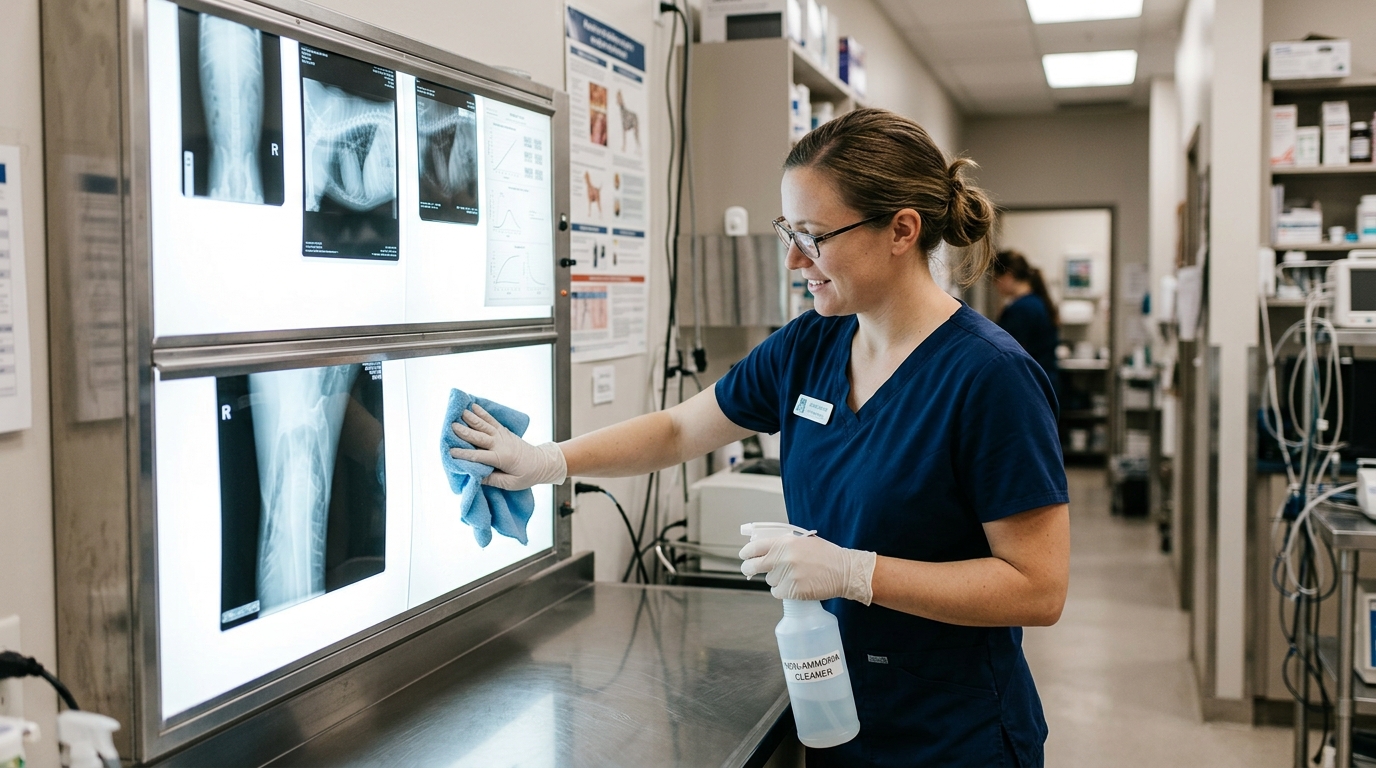
Equipment degradation is frequently accelerated by improper daily handling. Untrained staff often use harsh chemical solvents (like ammonia or heavy quaternary ammonium compounds) to clean the acrylic viewing panels. These chemicals cause micro-abrasions and yellowing in the acrylic diffuser, permanently destroying light uniformity and creating artificial opacities that mimic pathological lesions on a film.
Based on HQS clinical observation across multiple high-volume diagnostic centers, facilities where technicians lack standardized cleaning protocols experience a 22% higher rate of panel replacement within a three-year cycle. Furthermore, reading films on chemically damaged screens increases diagnostic uncertainty. Establishing formal training on hardware care—such as those detailed in our comprehensive guide on How to Use an X-ray Film Illuminator Clinical Best Practices for Practitioners—mitigates this risk, ensuring the investment retains its optical integrity over thousands of duty cycles.
Downtime Cost per Hour of Misuse
When an essential piece of viewing hardware fails, the operational friction extends beyond a minor inconvenience. In an active surgical environment, such as a specialized orthopedic referral center, relying on intraoperative films requires immediate, high-fidelity visualization to confirm implant placement. If the primary LED X-RAY VIEWER ZG - 1B/2B/3B/4B experiences power supply failure or severe LED flickering, the procedure halts.
We assess this disruption at a minimum downtime cost of $120 per hour. This calculation includes the idle time of the primary surgeon, the veterinary technician, and the extended time the patient remains under anesthesia. Routine preventative evaluations of power drivers and switch sensors prevent these acute failures, ensuring seamless workflow continuity during high-stakes procedures.
Maintenance Interval Benchmarks
To sustain optical consistency and prevent localized hardware failures, clinical engineering best practices mandate a structured maintenance schedule. The following table outlines the exact frequencies and procedures required to maintain diagnostic-grade uniformity.
| Frequency | Task Description | Key Action / Protocol |
|---|---|---|
| Daily | Surface Cleaning & Diffuser Care | Wipe the acrylic viewing panel using only 70% isopropyl alcohol or specialized optical cleaners with a soft microfiber cloth. Strictly avoid ammonia. |
| Weekly | Auto-Sensor Validation | Insert a test film into all individual panel slots to verify that the micro-switch activates the corresponding LED segment within 0.5 seconds. |
| Monthly | Luminance & Uniformity Audit | Use a digital lux meter to measure brightness in the center and four corners of each panel. Ensure variance between zones remains below 10%. |
| Annual | Driver & Internal Component Inspection | Assess power supply voltage stability and inspect internal LED matrix strips for dead nodes. Replace degraded strips to restore baseline uniformity. |
Resolving Common Light Uniformity Failures
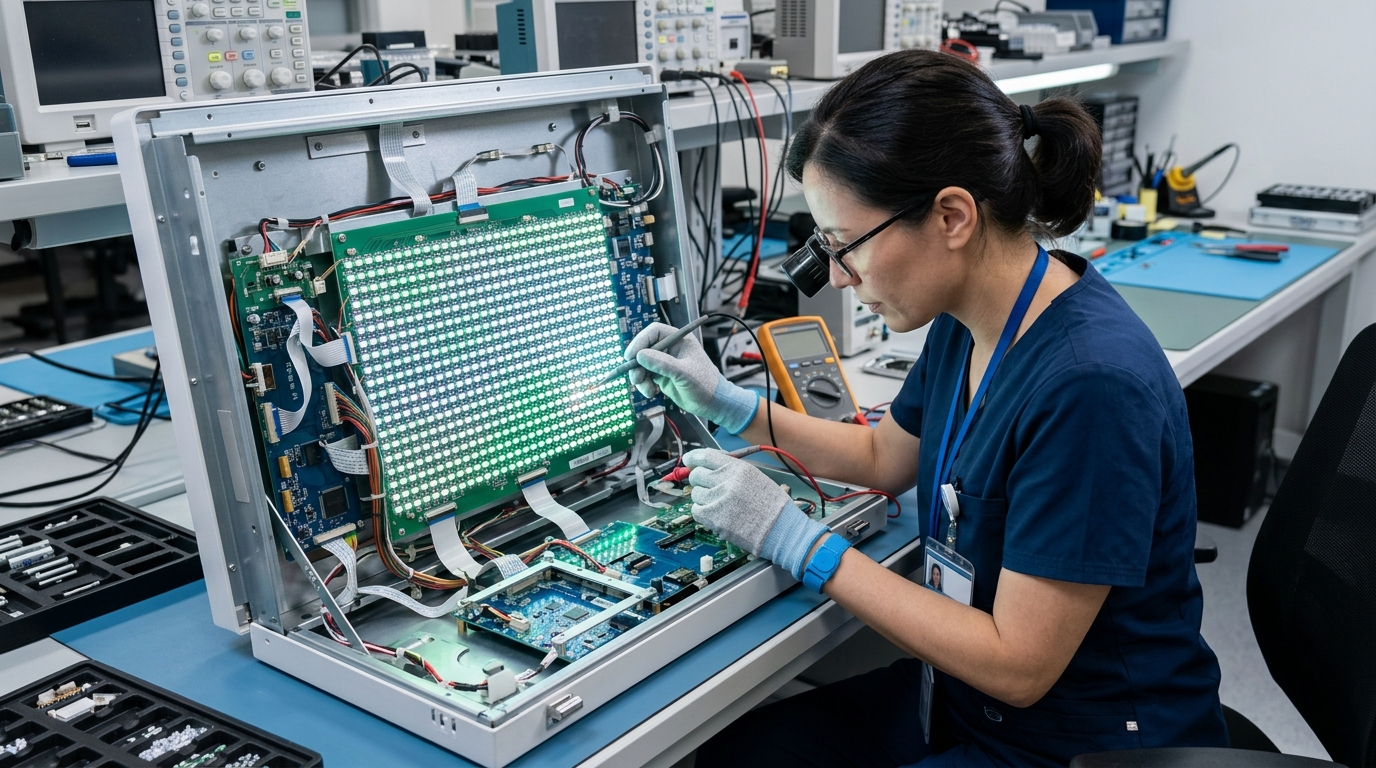
When localized dark spots or banding appear on the screen, the diagnostic value of the equipment drops immediately. These issues generally stem from three specific failures: LED diode burnout, diffuser yellowing, or power driver fluctuation.
For modern edge-lit panels, a failure in a single LED strip can cause a distinct gradient shadow across the entire viewing area. Technicians must first isolate whether the issue is the light source or the power supply. Evaluate the voltage output of the primary driver; if it drops below the rated 12V or 24V threshold, replacing the driver will often restore full uniformity without needing to replace the light emitting diodes themselves. If the diffuser panel has yellowed due to UV exposure or chemical damage, no amount of diode replacement will fix the color temperature shift. The acrylic panel itself must be sourced and replaced to restore the strict 6,500K daylight requirement.
Data Summary: Optimization Impact
By implementing strict calibration, training staff on proper cleaning protocols, and adhering to standard maintenance frequencies, veterinary hospitals can maximize the lifespan and utility of their viewing equipment. The table below summarizes the measurable impacts of these standardized practices.
| Clinical Metric | Pre-Optimization Baseline | Post-Optimization Result | Net Operational Benefit |
|---|---|---|---|
| Diagnostic Read Time | ~120 seconds per study | ~102 seconds per study | 15% faster clinical throughput |
| Diffuser Replacement Rate | High (due to chemical abrasion) | Near zero within 5 years | Eliminates unnecessary hardware OPEX |
| Intraoperative Downtime | Sporadic delays ($120/hr cost) | 0 delayed surgical reads | Improved patient safety under anesthesia |
| Illuminance Variance | Up to 25% corner-to-center | Strictly <10% variance | Consistent high-contrast visual accuracy |
Frequently Asked Questions
What causes localized dark banding on a veterinary X-ray film illuminator?
Localized dark banding is typically caused by the failure of individual LED nodes within a specific light strip, or a voltage drop from a failing internal power driver. In edge-lit panels, even one failed diode can cast a visible shadow across the acrylic diffuser, dropping uniformity below diagnostic standards.
How often should clinic staff measure viewing screen luminance?
Clinical guidelines recommend measuring screen luminance and uniformity monthly using a digital lux meter. Technicians should test the center of the panel and all four corners to verify that the variance between any two points does not exceed 10%, ensuring consistent contrast resolution for dense tissue evaluation.
Can I use standard window cleaner on the acrylic viewing panel?
No. Standard commercial window cleaners often contain ammonia, which reacts with the acrylic diffuser. Over time, this chemical exposure causes micro-abrasions, clouding, and yellowing, which permanently alters the color temperature and ruins light uniformity. Only use 70% isopropyl alcohol or specialized optical cleaners with a non-abrasive microfiber cloth.