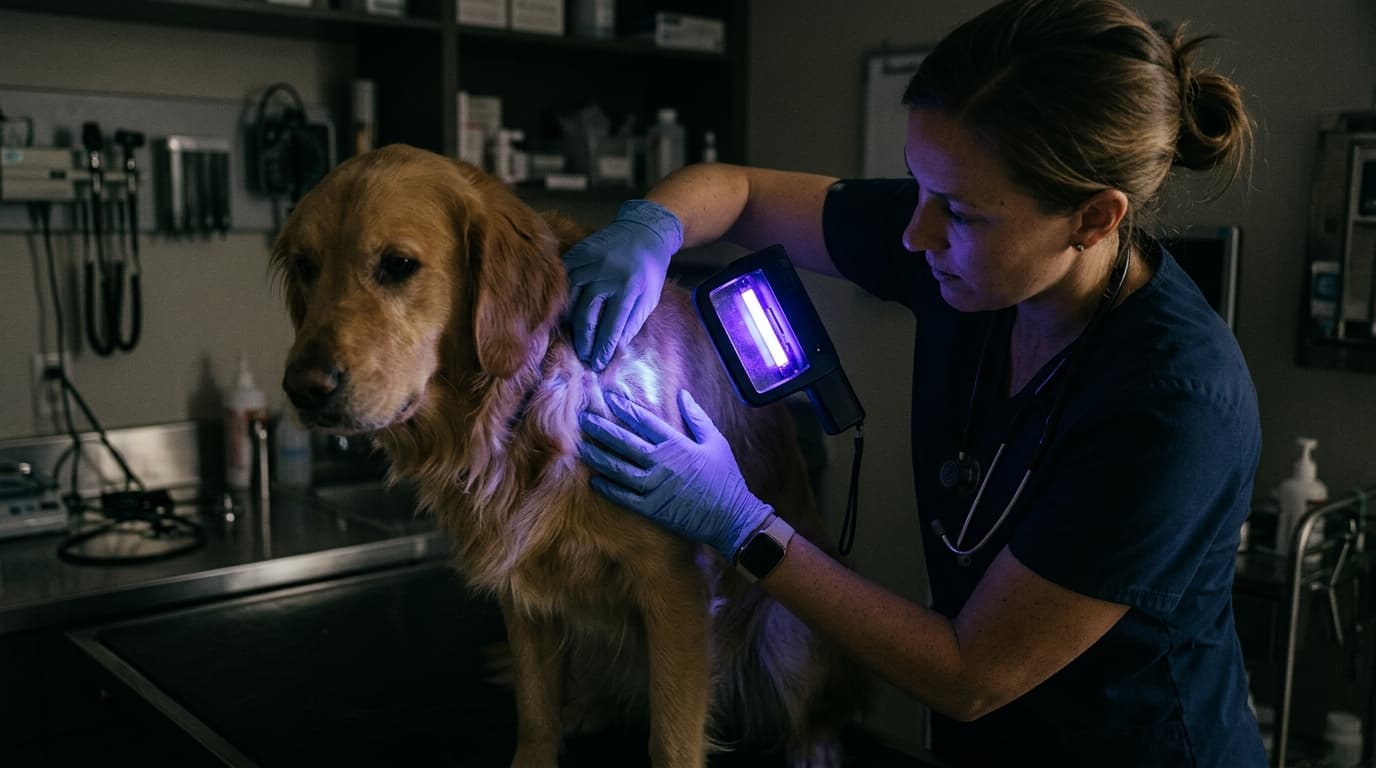
Dermatological examinations in veterinary practice rely heavily on ultraviolet light screening. However, the exact tool used to identify Microsporum canis often leads practitioners astray when topical treatments are applied prior to the exam. Recognizing the visual difference between true fungal apple-green fluorescence and the dull blue glare of chlorhexidine residue is a fundamental clinical skill.
The Mistake That Costs Thousands
Misinterpreting a false positive does not just result in a wrong diagnosis; it initiates a cascade of clinical and financial errors. When a technician confuses topical ointment residue for a dermatophyte infection, the patient is often subjected to weeks of unnecessary systemic antifungals. This leads to potential hepatic stress, frustrated clients, and wasted clinic resources.
Clinical Case: A 3-year-old rescue feline presented with patchy alopecia. The foster caregiver had applied a petroleum-based topical cream for three days prior. Under UV examination, the lesion emitted a bright bluish-white glow. Initially misdiagnosed as an active dermatophyte infection, the cat underwent unnecessary isolation. A subsequent fungal culture proved negative, confirming the fluorescence was purely petroleum residue.
To avoid these costly missteps, staff must understand the specific wavelengths required for fungal detection and the distinct reflective properties of common veterinary ointments. Proper screening protocols save both time and client trust.
What Happens During First Setup?
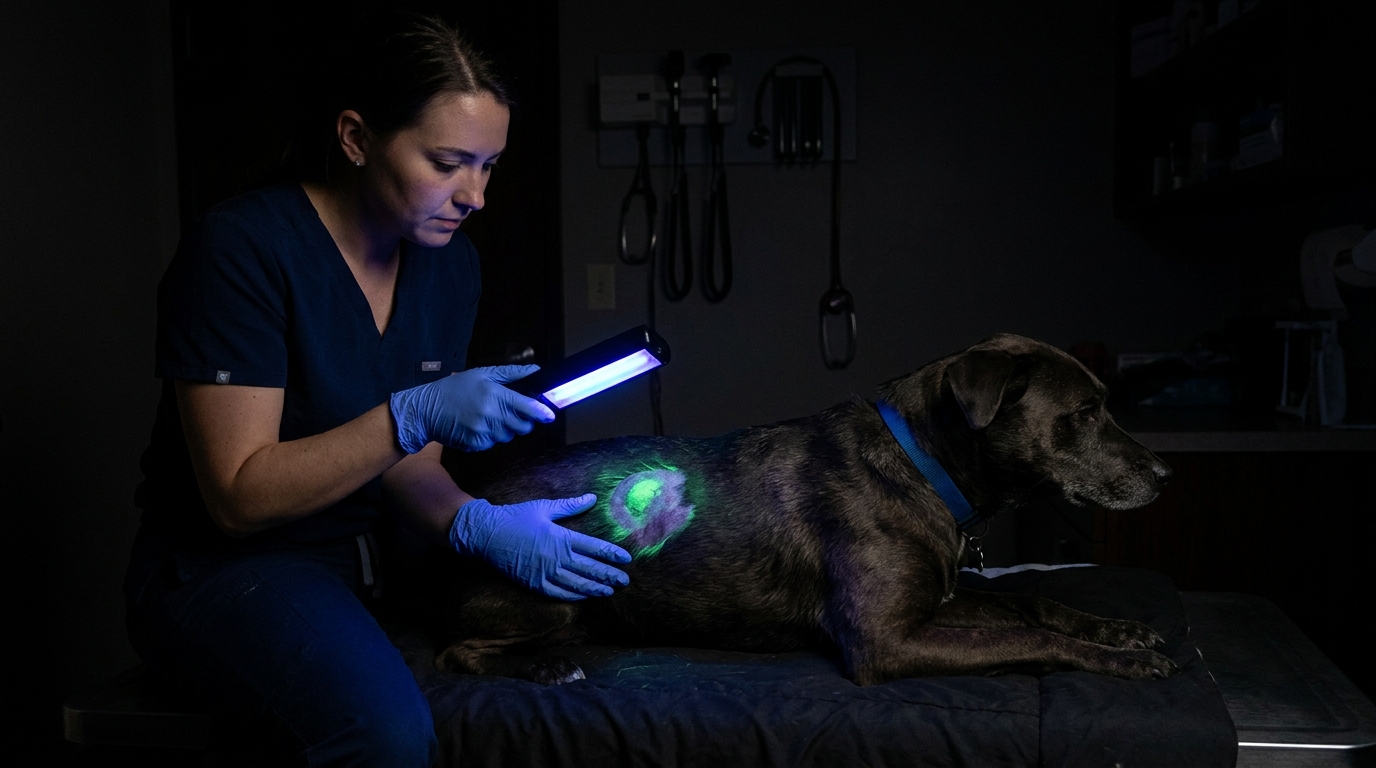
The accuracy of your screening begins the moment a new device is unboxed. Standard fluorescent models require a specific warm-up protocol that is frequently ignored in busy practices. For accurate 365 nm UV-A output, traditional bulbs need a minimum of three to five minutes to stabilize. Bypassing this step results in a weaker beam that fails to excite the specific fungal metabolites (pteridines) responsible for the apple-green glow.
Modern LED variations, such as the Wood's Lamp 9000B, eliminate this thermal stabilization period, providing instant peak wavelength output. Regardless of the technology, the clinical setup remains identical: the examination room must be completely dark, and the operator's eyes require at least two minutes of dark adaptation to accurately perceive subtle fluorescence variations.
Before vs. After: Workflow Results
Implementing a standardized UV-A screening protocol transforms diagnostic accuracy. The following table compares different diagnostic models and workflows when assessing dermal lesions.
| Diagnostic Method / Model | Key Parameter | Ideal Clinical Scenario | Estimated Cost Bracket |
|---|---|---|---|
| Standard Fluorescent Wood's Lamp | 365 nm (requires 5-min warm-up) | Low-volume general practice screening | $50 - $150 |
| Wood's Lamp 9000C (LED) | 365 nm (instant peak stabilization) | High-volume dermatology specialty clinics | $200 - $400 |
| Fungal Culture (DTM) | Colorimetric pH change | Definitive diagnosis for all suspected cases | $20 - $40 per test |
| Standard Naked-Eye Exam | White light visual assessment | Initial triage before targeted screening | N/A (Included in consult) |
3 Cases Where Training Saved Lives
Equipment is only as effective as the operator interpreting the results. Proper training allows clinicians to differentiate between biological artifacts, chemical residues, and true pathogens. Based on HQS clinical observation across multiple high-volume dermatology practices, staff trained in residue identification reduce false-positive antifungal prescriptions by a measurable margin.
Case 1: An equine patient presented with suspected girth itch. The area was previously sprayed with an iodine solution. Under the lamp, the iodine caused a deep purple absorption artifact that masked the underlying skin. The technician recognized the chemical interference, washed the area with sterile saline, and re-examined to find the actual lesion.
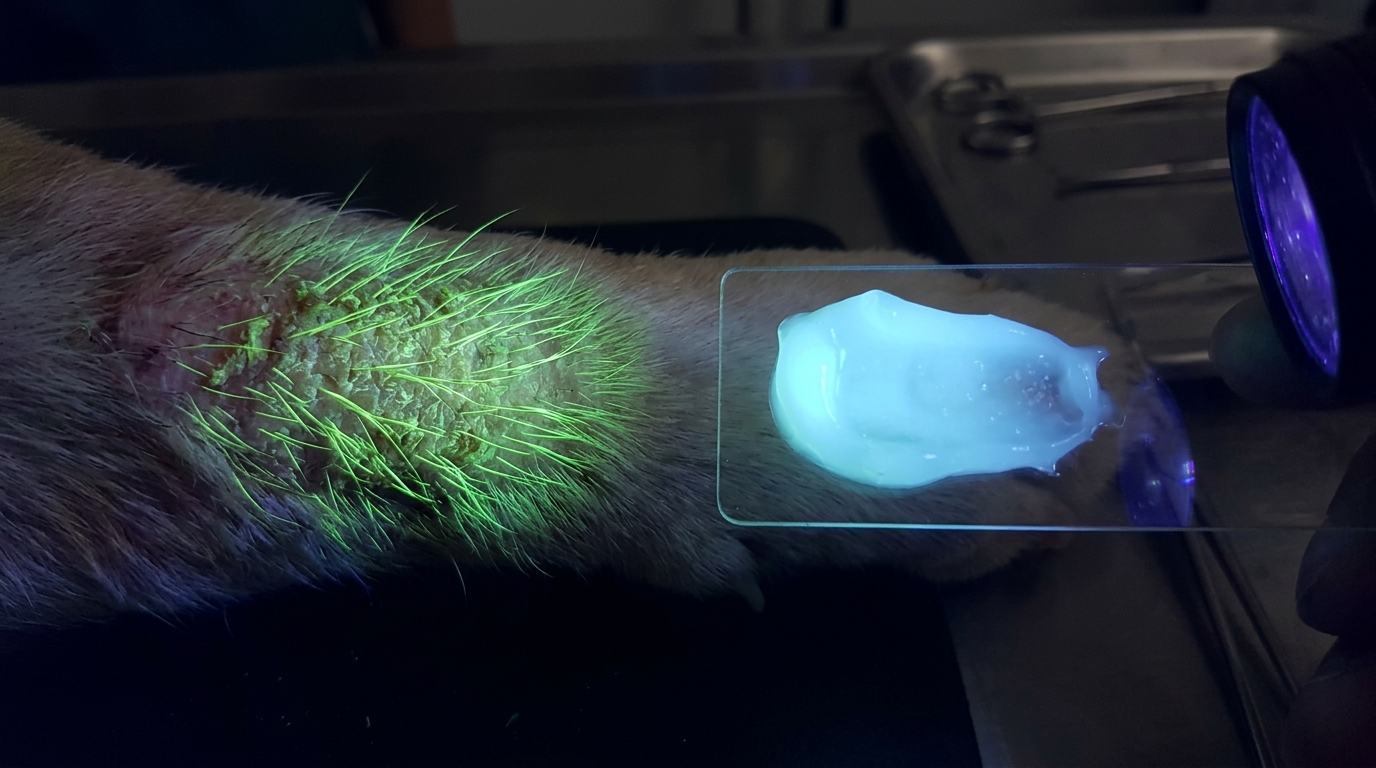
Case 2: A canine paw exhibited a dull pale blue fluorescence. The clinician verified the patient history, confirming a chlorhexidine wash was used at home, avoiding a misdiagnosis.
Case 3: Yellow-green flakes on a feline ear margin were correctly identified as sebum and keratin (typical of seborrhea) rather than the crisp apple-green of M. canis, preventing an unnecessary course of oral itraconazole.
Troubleshooting the 5 Common Alarms
While hand-held UV devices do not have audible alarms, they present operational "alarms"—visual indicators that the exam is compromised or the equipment is failing.
- Pale Blue Reflections: This is the most common visual alarm for ointment residue (particularly petroleum jelly or salicylic acid). Action: Cleanse the area with mild soap and water, dry thoroughly, and re-evaluate.
- Flickering Beam: Indicates ballast failure in fluorescent models or a loose diode connection in LED units. This compromises the 365 nm wavelength output.
- Purple Lint Artifacts: Textile fibers from towels or pet bedding glow bright purple-white. Action: Brush the coat gently before the exam.
- Excessive Heat Build-up: Traditional bulbs generating significant heat indicate a failing internal resistor. The unit must be turned off immediately.
- Fading Intensity: A gradual drop in UV output is a silent alarm of battery degradation or phosphor coating wear.
Generating technical image: Technician performing routine maintenance on a Wood's Lamp, carefully cleaning the specialized magnifying lens with an optical-grade microfiber cloth....
Service Call vs. DIY Repair
Knowing when to handle a repair in-house and when to contact the manufacturer extends the lifecycle of your diagnostic tools. Routine tasks, such as replacing standard batteries or swapping out a readily accessible fluorescent bulb, should be managed by clinical staff. Always use powder-free gloves when handling replacement bulbs to prevent skin oils from causing hot spots on the glass.
Conversely, issues involving internal wiring, failed LED arrays, or cracked magnifying lenses require professional servicing. Attempting to solder internal connections on a medical-grade device compromises safety and voids warranties. For clinics evaluating replacement timelines, conducting a comprehensive equipment evaluation ensures procurement aligns with clinical needs. Just as you rely on a high-resolution veterinary ultrasound scanner for accurate internal imaging, your dermal diagnostic tools demand reliable optical integrity.
Building a Maintenance Habit
Consistent maintenance prevents the gradual degradation of UV output, which directly impacts the visibility of fungal metabolites. Implement the following schedule to protect your investment.
| Frequency | Task | Key Action |
|---|---|---|
| Daily | Lens Cleaning | Wipe the magnifying glass with optical-grade cleaner to remove dander and chemical residue. |
| Weekly | Intensity Check | Project the UV beam against a known fluorescent standard in a dark room to verify output strength. |
| Monthly | Hardware Inspection | Assess power cables for fraying and clean battery contacts with isopropyl alcohol. |
| Annual | Calibration/Replacement | Replace fluorescent bulbs (even if they still turn on) due to phosphor degradation, or review LED integrity. |
Frequently Asked Questions
Why does petroleum jelly glow under UV-A light?
Petroleum jelly and many other hydrocarbon-based ointments contain compounds that naturally fluoresce under 365 nm UV-A light. They typically emit a dull blue or bluish-white color, which inexperienced operators can mistake for biological fluorescence.
Should I clean the patient's skin before the examination?
If topical ointments, iodine, or chlorhexidine have been applied recently, the area should be gently cleansed with non-fluorescing mild soap and water, then dried completely. However, avoid aggressive scrubbing, as this can remove the fungal hairs and crusts necessary for a positive diagnosis.
How long do standard fluorescent Wood's Lamp bulbs last?
While a fluorescent bulb may physically emit light for thousands of hours, the internal phosphor coating degrades over time, reducing the critical 365 nm wavelength output. In a busy clinical setting, it is recommended to replace standard fluorescent bulbs annually to ensure diagnostic accuracy.
What is the exact color of a positive dermatophyte infection?
A true positive for Microsporum canis produces a crisp, bright apple-green fluorescence along the hair shaft. It does not glow blue, yellow, or purple. Keep in mind that not all dermatophyte strains fluoresce, so a negative UV exam does not rule out ringworm.
Relying on precise optical tools requires clinical discipline. By distinguishing between true fungal indicators and the false positives caused by 4 common ointment residues, your practice can streamline dermatological workflows, reduce unnecessary medication costs, and elevate the standard of patient care.