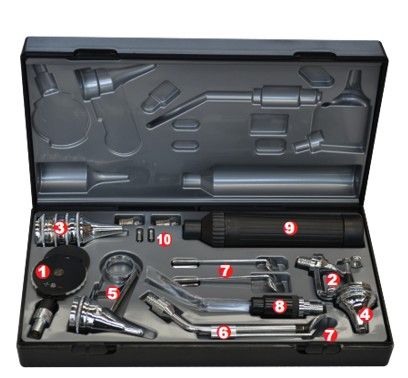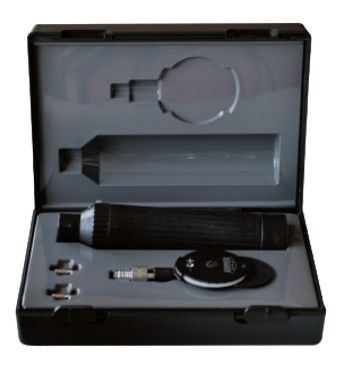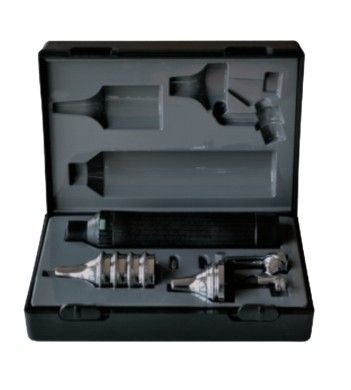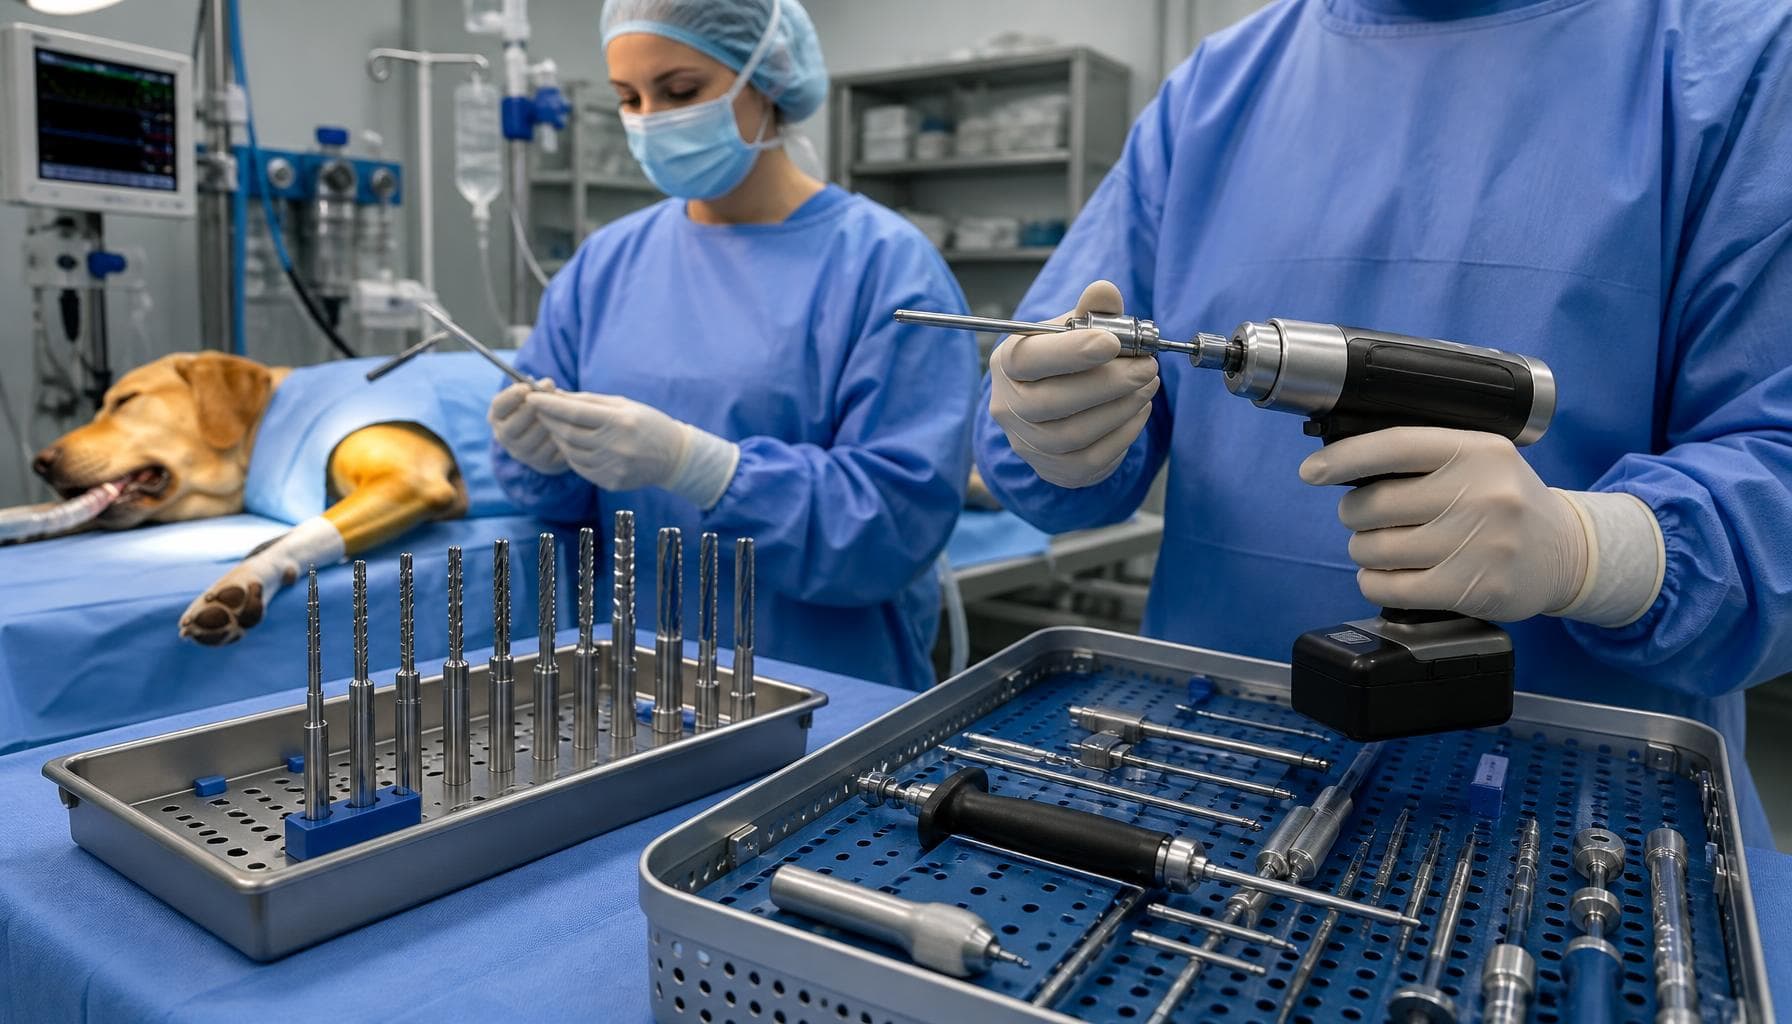
Clinical efficiency in high-volume veterinary practices is measured in seconds. Industry guidance suggests clinics evaluating more than 30 patients daily experience a 15% workflow bottleneck specifically during head, eye, and ear triage. At the center of this metric is the ophthalmoscope, a primary diagnostic tool where the choice between a portable unit and an integrated wall hub dictates both examination speed and diagnostic yield. Understanding the hardware configurations, operational data, and maintenance requirements allows clinical directors to optimize room turnover and minimize equipment failure.
Efficiency Gains: The Numbers Speak
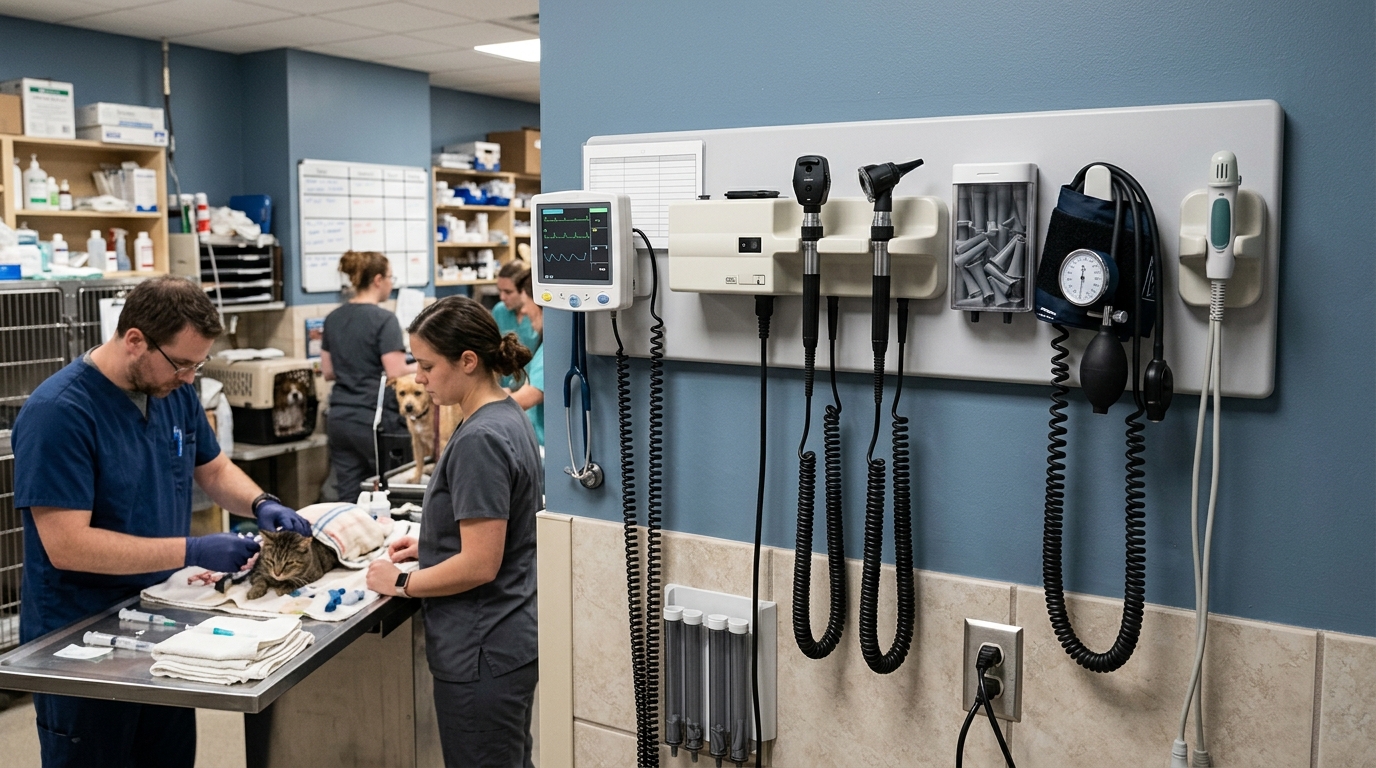
Time-motion studies within clinical environments reveal distinct differences in setup times based on equipment architecture. Wall-mounted diagnostic hubs eliminate the search and retrieval phase of the examination. In standard outpatient rooms, practices utilizing hardwired hubs report an average eye examination preparation time of 45 seconds, compared to 65 seconds for battery-operated handheld units. This 20-second delta per patient translates to nearly an hour of recovered clinical time per week in a busy multi-doctor facility.
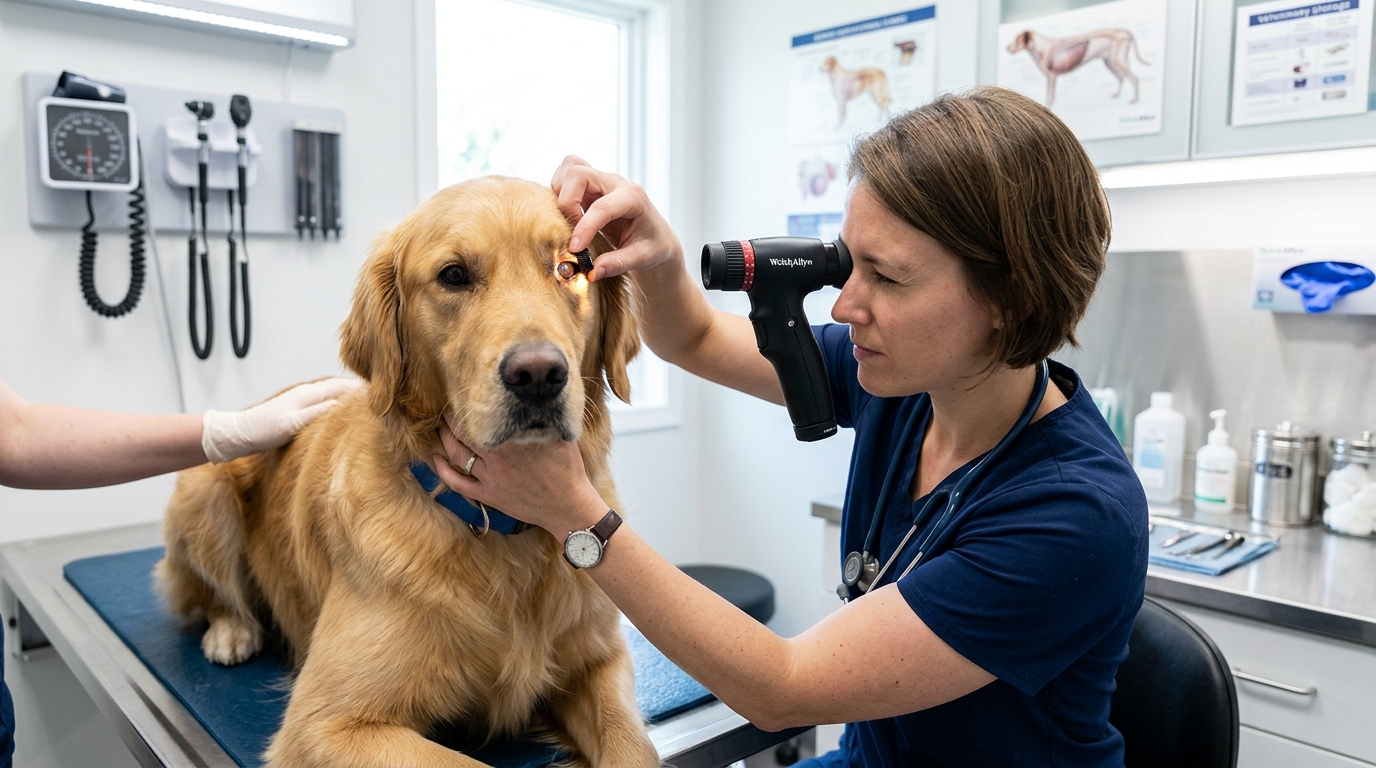
Conversely, in environments requiring high spatial flexibility, such as treating large canine patients on the floor or equine patients in stalls, portable units reclaim their efficiency. The absence of a physical tether prevents awkward positioning, which can otherwise prolong the procedure by up to 30%. Selecting the appropriate form factor depends directly on the primary patient demographic and the physical layout of the examination space.
3 Settings That Cut Procedure Time
Efficient utilization of an ophthalmoscope relies on rapid parameter adjustment. Misconfigured optics lead to prolonged retinal searching and patient non-compliance. Mastering three specific adjustments significantly reduces procedure duration.
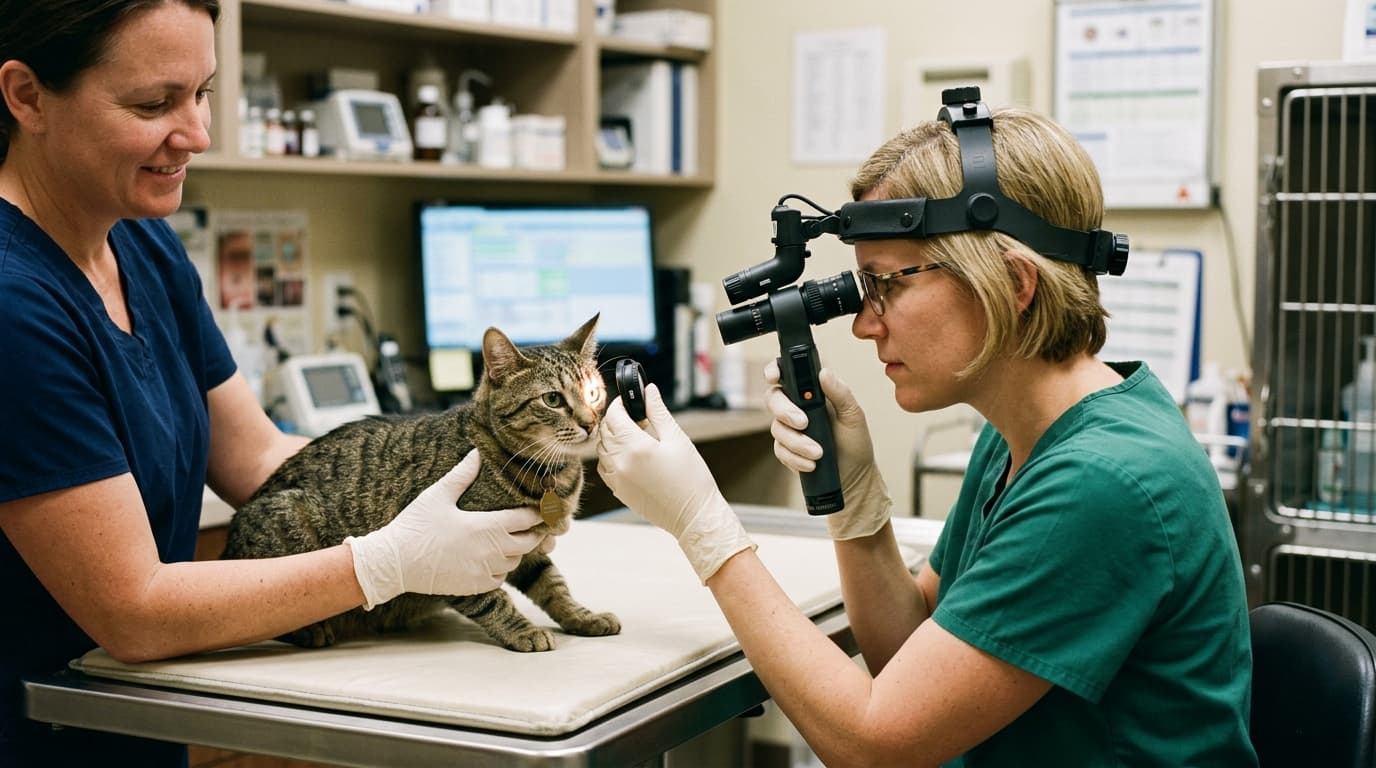
First, pre-setting the diopter wheel is critical. Keeping the device zeroed allows the operator to quickly accommodate the patient's refractive error without scrolling through the entire +20 to -20 range. Second, aperture selection dictates target visibility. Utilizing the micro-spot aperture initially prevents premature pupillary constriction in felines, expanding the usable examination window before pharmacological dilation is required. Finally, integrating the cobalt blue filter rapidly highlights corneal abrasions when fluorescein stain is applied, consolidating two assessment steps into one continuous workflow.
Handheld vs Wall-Mounted: ROI Comparison
Procurement decisions require a structured cost-benefit analysis. While portable units offer lower initial acquisition costs, wall-mounted hubs often integrate tools for complete ENT examination, centralizing power sources and reducing long-term battery expenditures. The table below compares 4 ophthalmoscope configurations based on technical parameters, pricing, and clinical suitability.
| Configuration Type | Key Parameter | Ideal Clinical Scenario | Average Price Range |
|---|---|---|---|
| Standard Battery Handheld | AA Battery, 2.5V Halogen, Portable | Field medicine, mixed animal practice, backup use | $150 – $300 |
| Rechargeable Handheld | Lithium-ion, 3.5V LED, Desk Charger | Specialty triage, high-mobility ICU settings | $350 – $600 |
| Wall-Mounted Hub (Basic) | AC powered, Single Handle, Auto-On | Dedicated feline rooms, low-square-footage areas | $700 – $900 |
| Wall-Mounted Combo Hub | Multi-Handle (Ophthalmic + Otic), 3.5V LED | High-volume general outpatient rooms | $900 – $1,200 |
Error Rate: Trained vs. Untrained Staff
Equipment configuration directly impacts diagnostic accuracy. When staff transition between examination rooms with inconsistent equipment (e.g., varying handle weights, different illumination color temperatures), diagnostic confidence drops. Standardizing either on premium portable units like the Ophthalmoscope (Powered) 8A or unified wall hubs across all rooms establishes a baseline.
Based on HQS clinical observation, veterinary technicians trained on standardized wall-mounted combo hubs report a 22% drop in incomplete fundic exams. The consistent 3.5V LED illumination (typically around 4000K color temperature) provides predictable tissue color rendering, whereas aging alkaline batteries in non-standardized handhelds cause halogen bulbs to shift toward the yellow spectrum, masking subtle retinal hemorrhages or lens opacities.
Downtime Cost per Hour of Misuse
Physical damage to diagnostic equipment creates immediate workflow bottlenecks. For portable models, the primary failure mode is drop impact, frequently resulting in a broken halogen filament or cracked optics. In integrated systems, the most common failure is coiled cord degradation caused by operators pulling the handle beyond its maximum tension radius.
The financial impact extends beyond replacement parts. An idle examination room due to non-functional eye and ENT diagnostic tools can cost a practice an estimated $85 per hour in deferred or delayed throughput. Establishing proper handling protocols—such as enforcing the use of wrist lanyards for portable devices and installing wall hubs at optimal ergonomic heights (typically 48-52 inches from the floor)—mitigates these risks. For a deeper analysis on matching equipment to specific clinical volume, consult our evaluation on portable ophthalmoscope vs wall units and clinic workflow needs.
Maintenance Interval Benchmarks
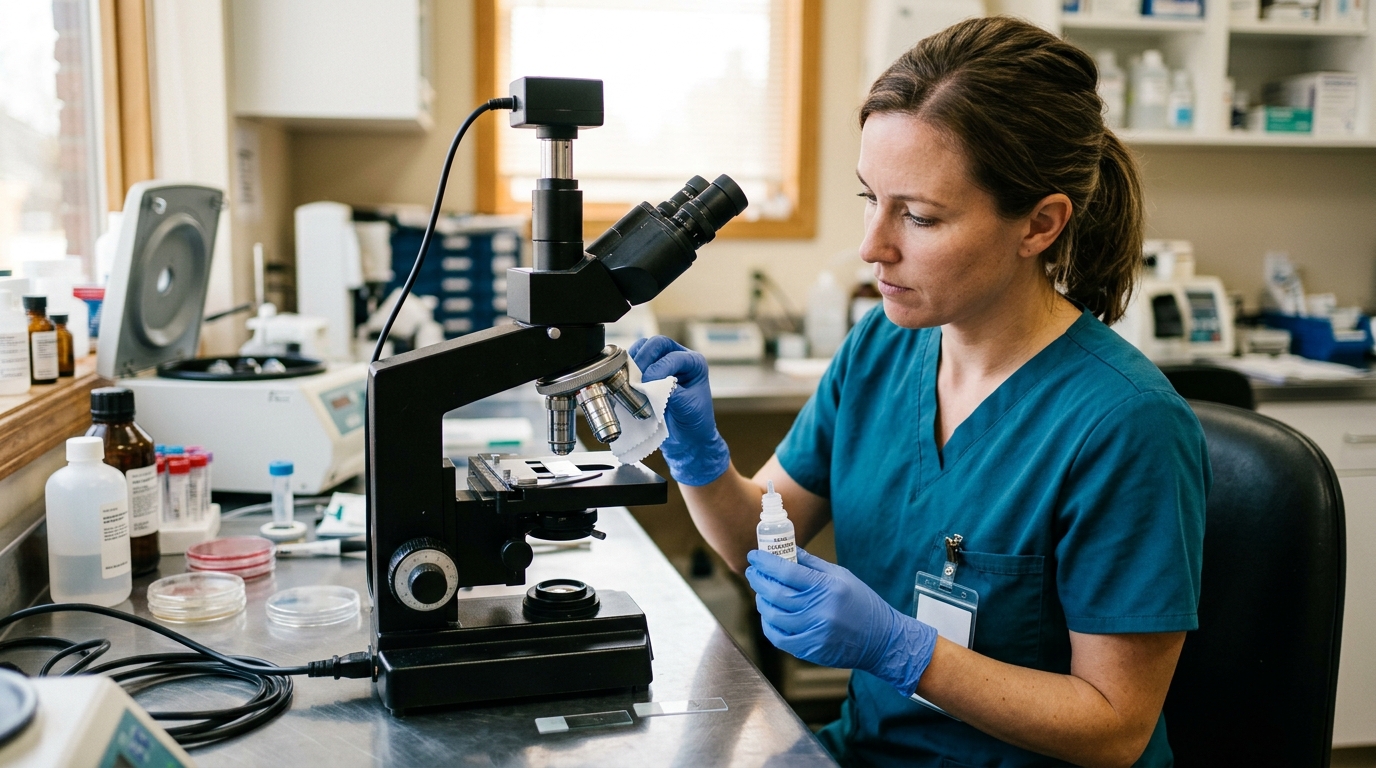
Proactive maintenance preserves optical clarity and ensures consistent power delivery. Implementing a structured 4-tier maintenance protocol is non-negotiable for extending the lifespan of precision ophthalmology instruments.
| Frequency | Task | Key Action |
|---|---|---|
| Daily | Surface & Lens Cleaning | Wipe the patient-facing viewing window with lens paper and 70% isopropyl alcohol. Never use paper towels. |
| Weekly | Power & Contact Inspection | Check rheostat functionality. For handhelds, inspect battery compartment for corrosion and clean contacts. |
| Monthly | Structural Integrity Check | Inspect wall-mount coiled cords for micro-tears. Verify the locking mechanism between the handle and optical head is secure. |
| Annual | Illumination Calibration | Replace halogen bulbs (even if functioning) to prevent color temperature shifts. Inspect rheostat for dead zones. |
Data Summary: Optimization Impact
Consolidating the data provides a clear path for hardware optimization. Integrating the right configuration and adhering to strict maintenance schedules yields measurable operational benefits.
| Optimization Metric | Baseline Scenario | Optimized Workflow Result |
|---|---|---|
| Exam Prep Time | 65 seconds (searching/setup) | 45 seconds (wall-mounted instant on) |
| Optical Clarity Issues | Frequent due to poor cleaning | Virtually eliminated with daily lens protocols |
| Unexpected Downtime | High (battery failure/drops) | Low (standardized charging/tethering) |
| Illumination Consistency | Variable (alkaline fade) | Stable (AC power or Lithium-ion) |
Frequently Asked Questions
What power source provides the most consistent illumination for retinal exams?
Lithium-ion batteries and direct AC wall power provide the most stable voltage. This ensures the LED or halogen bulb maintains a consistent color temperature and brightness throughout the entire examination, unlike alkaline batteries which experience voltage drop as they discharge.
How does aperture size selection affect feline examinations?
Feline pupils constrict rapidly when exposed to bright light. Using the micro-spot or small aperture setting limits the amount of light entering the eye, delaying the pupillary reflex and providing the clinician with a few extra seconds to visualize the optic disc and retinal vessels without requiring pharmacological dilation.
Can portable handheld units match the optical clarity of wall-mounted hubs?
Yes, assuming the optical heads utilize the same internal lens arrays and illumination technology (such as coaxial optics and 3.5V LED). The primary difference lies in the power delivery method and ergonomics, not the inherent optical quality of the head itself.
Why is coaxial illumination critical for veterinary diagnostics?
Coaxial illumination aligns the axis of the light source with the axis of vision. This configuration eliminates shadows and allows the light to pass precisely through small, undilated pupils, which is highly advantageous when examining small mammals or uncooperative patients.